

Buy From The Best With Confidence
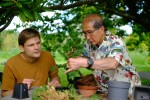
Peter Chan World Famous Bonsai Expert
21 Times Chelsea Flower Show Gold Medal Winner


.png)


Buy From The Best With Confidence
Peter Chan World Famous Bonsai Expert
21 Times Chelsea Flower Show Gold Medal Winner
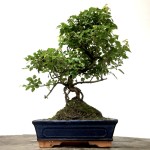
New Products
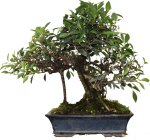
users favourites
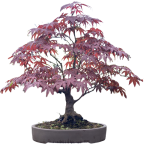
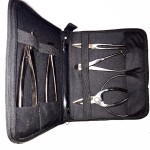
Product Categories
Product Categories


As Featured In


Youre always welcome
Visit Herons Bonsai
On its extensive seven and half acre landscaped site you can relax and enjoy all aspects
of this fascinating hobby. It is literally a Bonsai heaven for anyone interested in the
pastime. The sheer scale of the site and the range and selection of trees makes Herons a
'must visit' venue for both bonsai enthusiasts and gardeners alike.
In response to the overwhelming demand from customers who wish to order online, we set up our Internet shop and it has gone from strength to strength.
In response to the overwhelming demand from customers who wish to order online, we set up our Internet shop and it has gone from strength to strength.


