Thinking Logically in Bonsai - Easy Decision Making
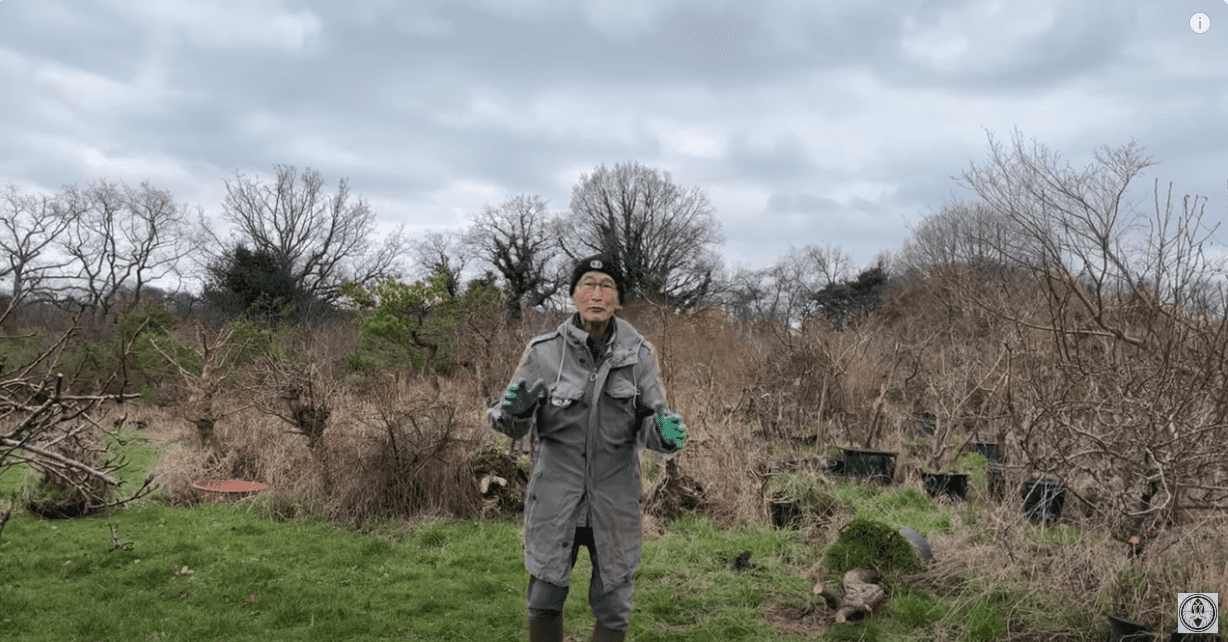
Hello from Peter Chan!
In this tutorial, we're going to look at how to make easy decisions when it comes to creating bonsai. Creating a bonsai is a lengthy but rewarding process. It's a creative pastime that also requires logic and a slightly scientific approach. At one time in my life, I was offered the position of becoming an engineering lecturer. However, I don't think that was quite the right path for me. I think I am more suited to teaching bonsai!
When it comes to my knowledge of bonsai, most of it has been self-taught. Because of this, I've been able to analyse the creative process of bonsai.
Behind me here I have what I call the 'jungle'. This big field of bonsai may look wild but there is a plan for each of these trees.
Here you will see a collection of privet stumps. There is a plan for each one of these stumps: a logical sequence of events that will eventually allow them to become bonsai.
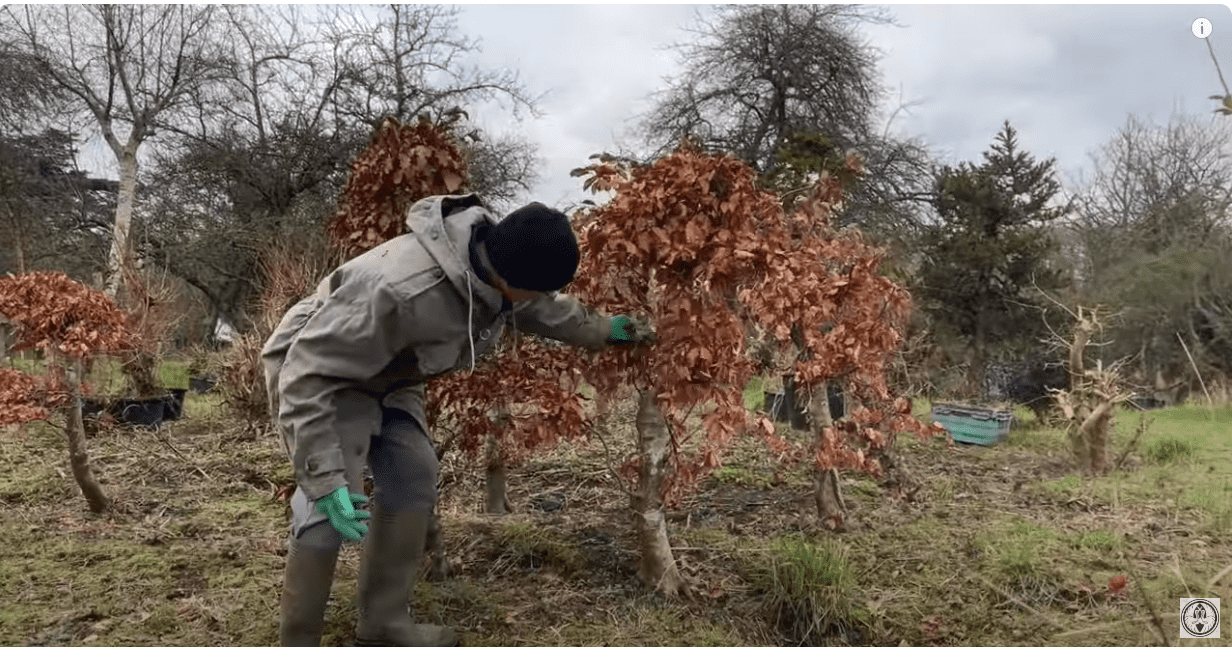
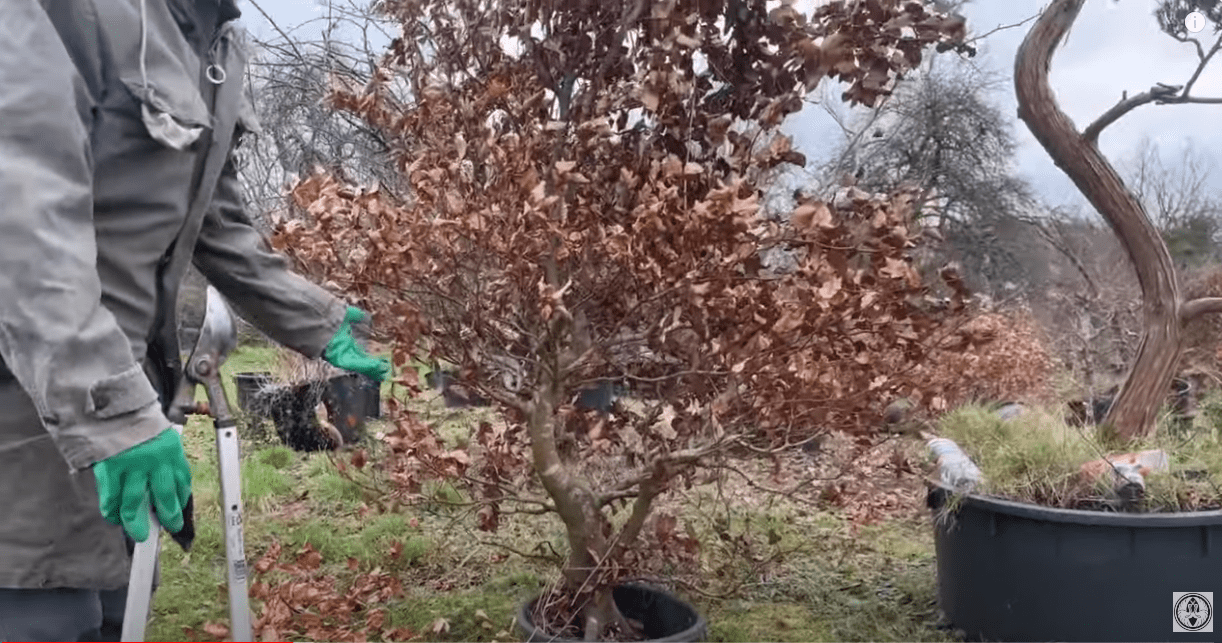
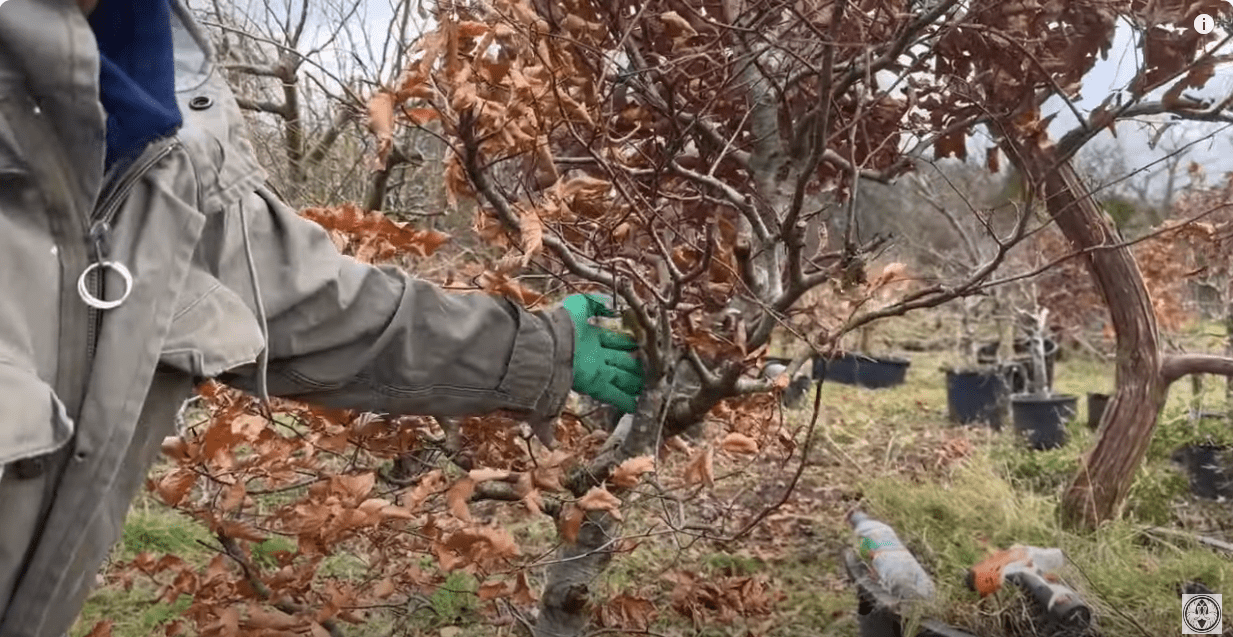
A question often asked by people who are new to bonsai is 'why are bonsai tree's so expensive?' . The price of bonsai is reflected in the amount of time, effort and the creative process that goes into cultivating them. For example, here we have quite a lot of European Beech trees. These trees started off in our nursery with trunks no thicker than a pencil. They have been grown here in this field for the last 20 years to so, just to get the thickness they have today. Yet, they are nowhere near a complete bonsai.
I want to show you how I tackle a European Beach that has been taken out of the ground and grown in a pot for the last couple of years.
Already, we can see this Beech has a lovely trunk shape.
Making the First Decision
Height
Some may think this tree is too big to be a bonsai. However, it is a more than suitable height to be a credible bonsai. In fact, On our recent visit to Taiwan, we saw bonsai trees between eight and ten foot high!Shape
Looking at this tree, I can use my experience and knowledge of bonsai to decide how I want to shape it. This is the first decision I make. I decide I want to shape it in to a nice dome.Choosing the Back
The next decision I need to make is what will be the front and what will be the back of the tree. To do that, I'm simply going to walk around the tree.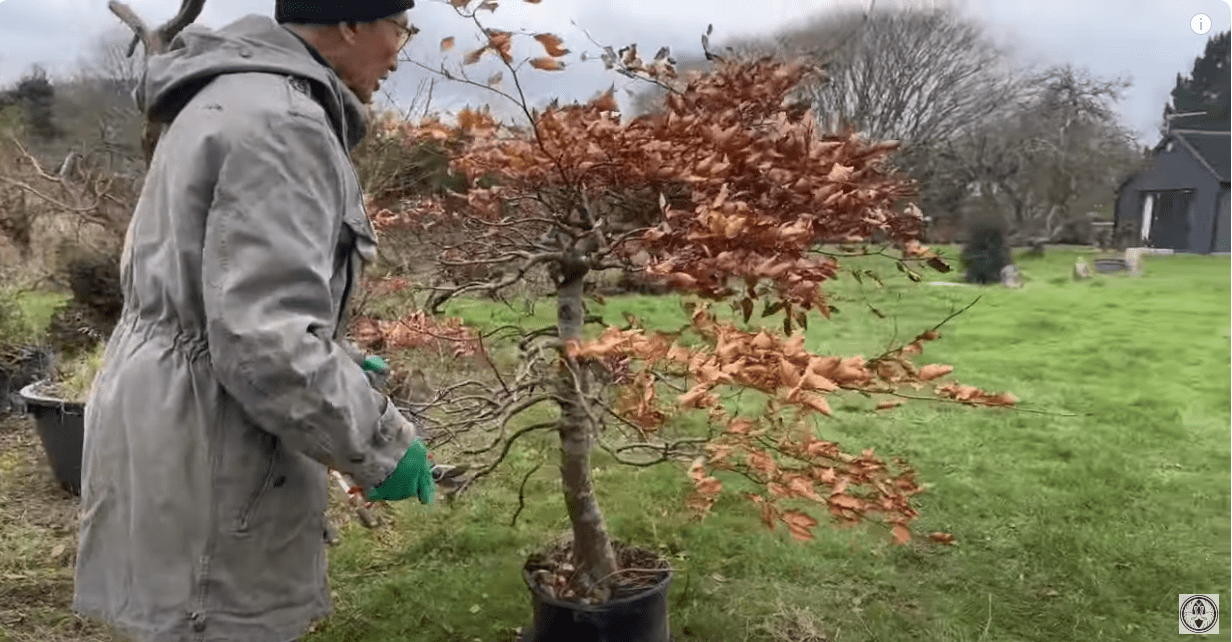
Deciding on the back is usually simple. In this case, I can determine the back by looking at the density of the foliage. The density of the back will help to offset the front, which should be more 'open'. In addition to appearance, the radial roots that go into the ground also help to determine the front.
Further Styling Choices
As with most bonsai, I feel that this tree presents me with many styling choices. In life, we are always faced with many choices which can sometimes be quite bewildering. The key is to be confident in our decision making. One option here is to cut the tree. If I didn't want to keep the trees height I could cut it about here.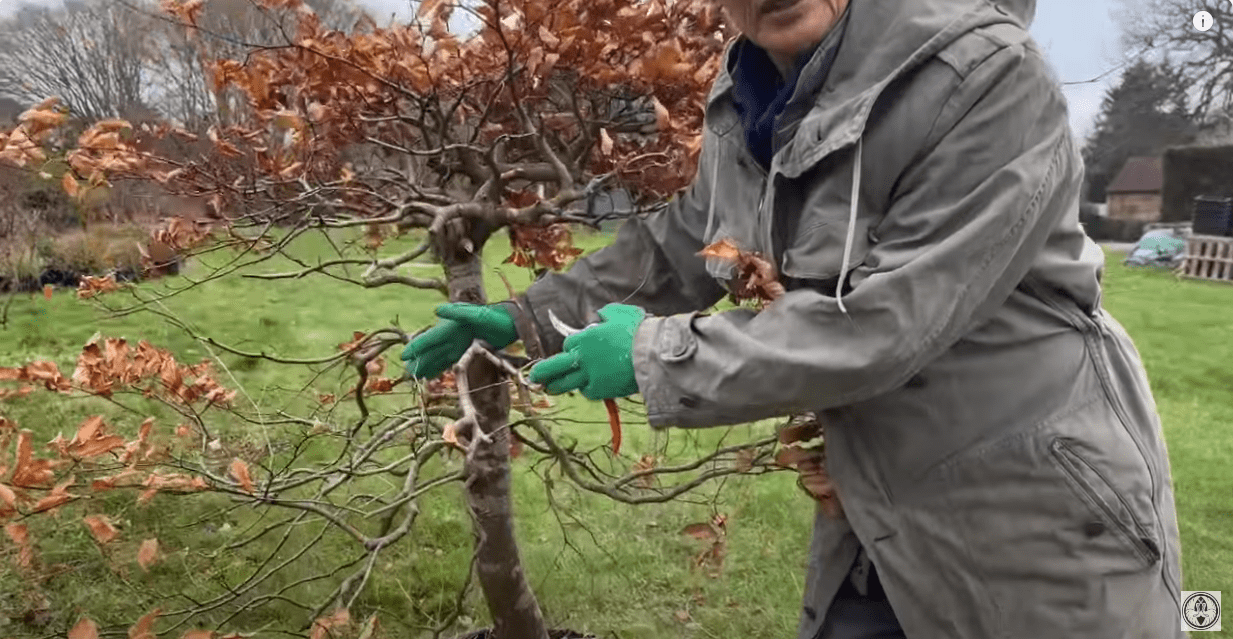
If I did this, I could also get another tree from the off cut. If I did this, I would need to think ahead, as this would involve air layering and could take another two or three years to get the second tree.
Choosing The Front
I decide I am going to keep the tree at its current height. I like the look of large bonsai so I'm going to make a start.Creating a Shape
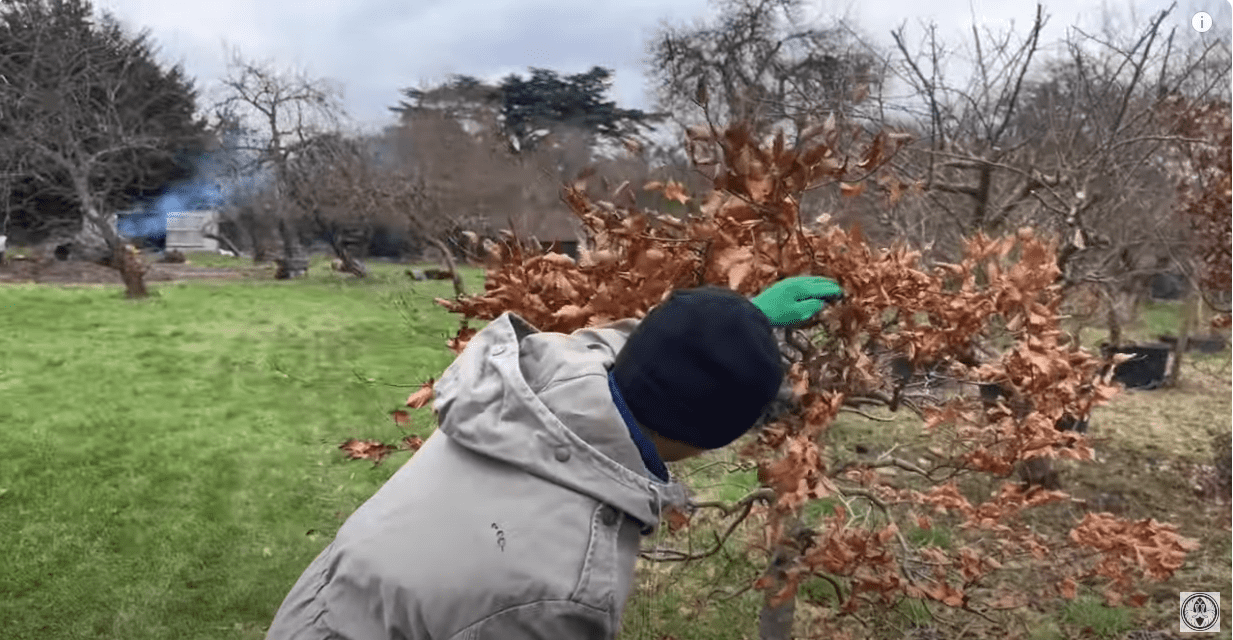
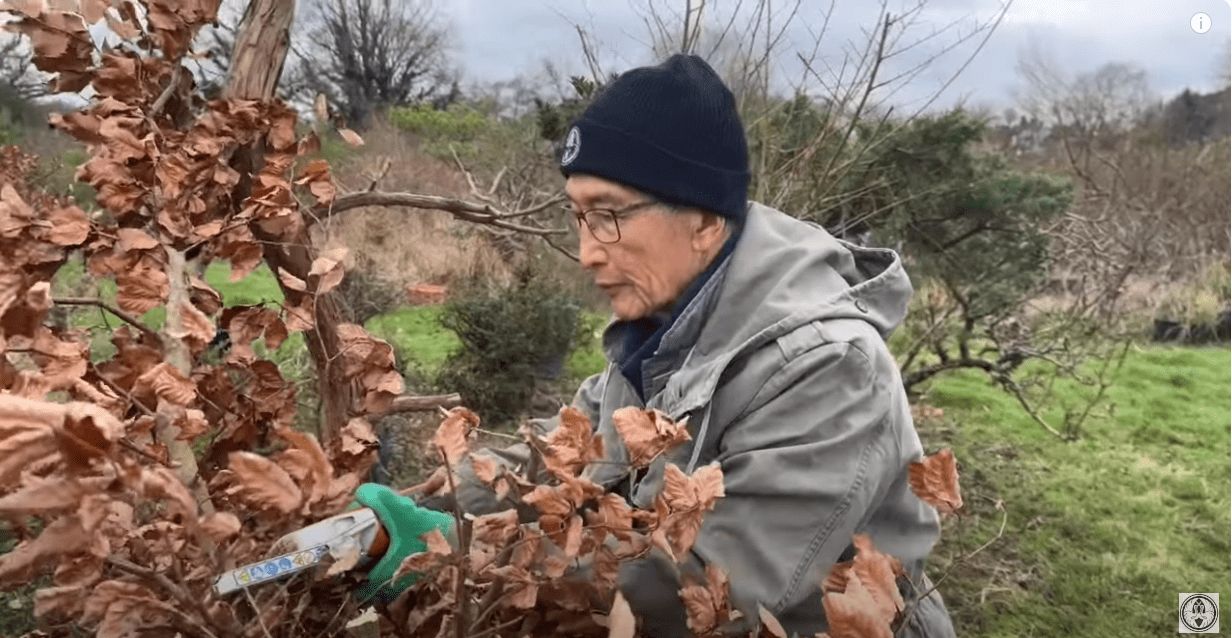
At this stage, I'm not going to make any decisions on the structure, I'm just going to create a basic shape.While making the decision to prune and chop away at parts of the tree may seem daunting, there is a reassuring side to bonsai in that plants do grow back. When creating bonsai, take comfort in the fact that if you make a mistake, it is not the end of the road. I just do some basic pruning to get the rough, dome shape I desire.
During this process, I'm going to look more critically to discover the leader of the tree. I can look at the tree and see several potential leaders.
As I prune the tree, I'm taking out any branches that are criss-crossing over each other or pointing directly upwards.
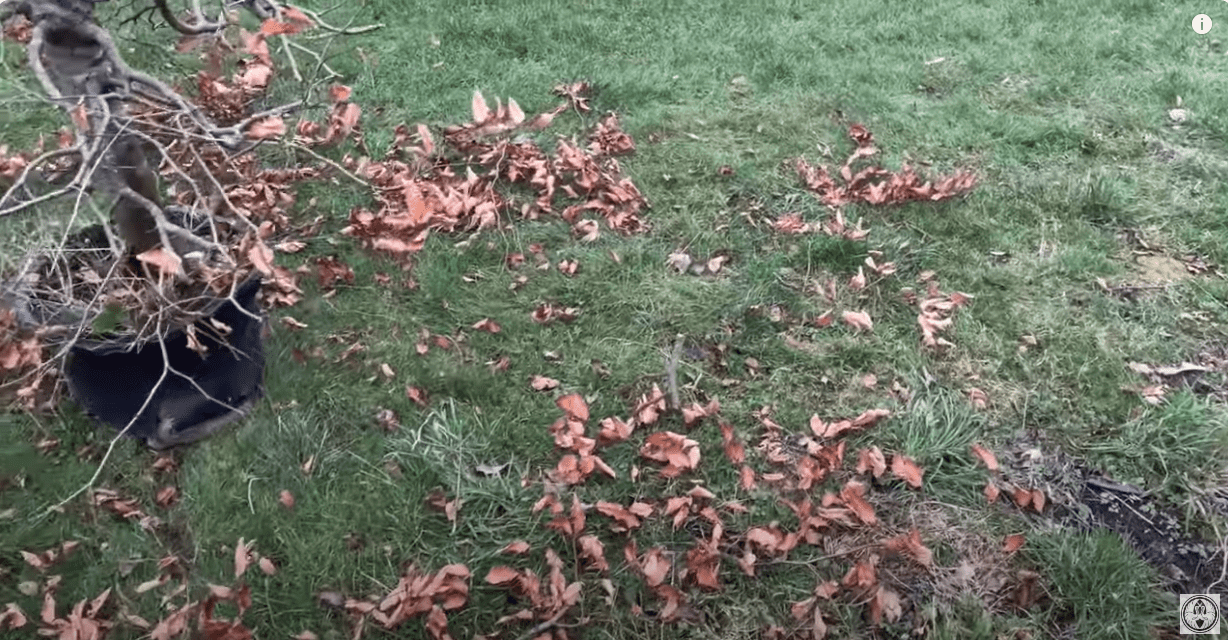
Already, you can see how much I've pruned just by looking at the ground.
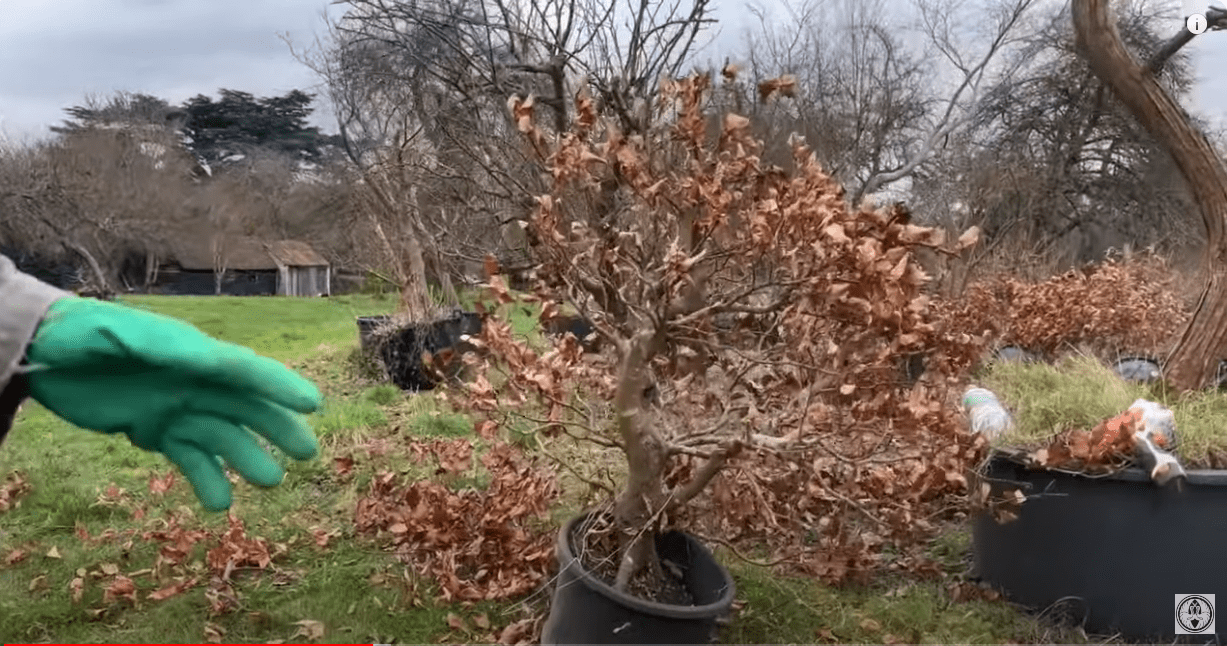
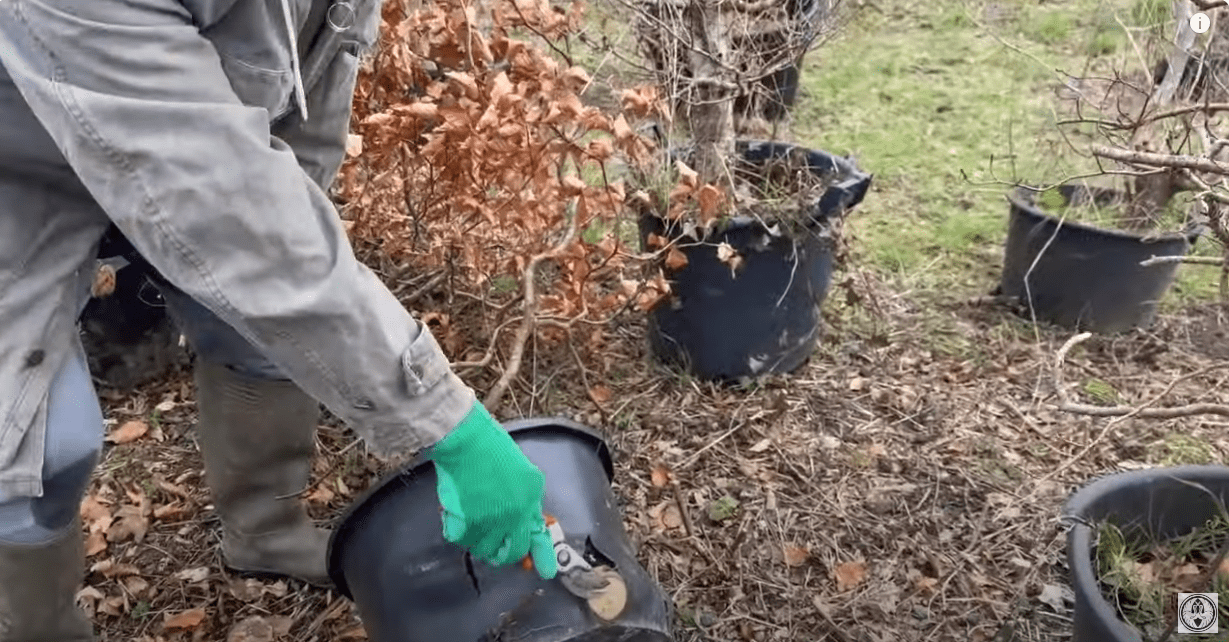
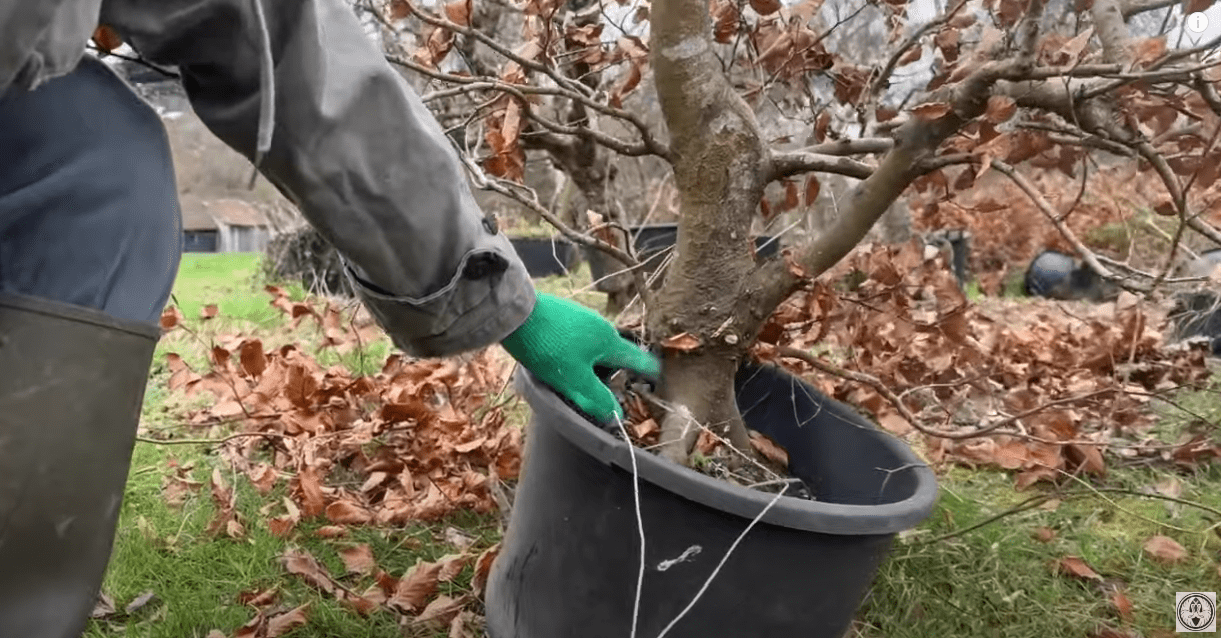
Once I've pruned this tree to a basic dome shape, I will put it in a plastic pot in our nursery. As it grows, I can do some more fine tuning.
Second Example
Now, let's look at a slightly tricker example and how I make the design decisions for that:This next bonsai is about eight feet tall. It was grown in the ground for about twenty years and put into this pot about two years ago. In the last three years it has grown rapidly and in my opinion it is much too tall. However, we have let it grow this tall on purpose in order to thicken the trunk.
At first glance, it has the resemblance of a twin trunk tree.
First Decisions
As with the first tree, one of the first decisions we need to make is what will be the front and what will be the back of this tree.
There are a lot of possibilities with this tree. What will help me make my decision is looking at features which stand out. This crossing branch is one of the first things that stands out to me as a negative and it is something I remove.Then, I tackle the height of the tree. I want to eliminate about three to four feet of its height. To do this, I use my mini chainsaw.
The next thing I'm going to do is begin to create that nice dome/triangular shape as we did with the last tree. By doing this, you'll see it already starts to resemble a bonsai.
This only took a couple of minutes to do.
Next, it's time to make some further refinement decisions.
I notice some thick branches that I want to remove.
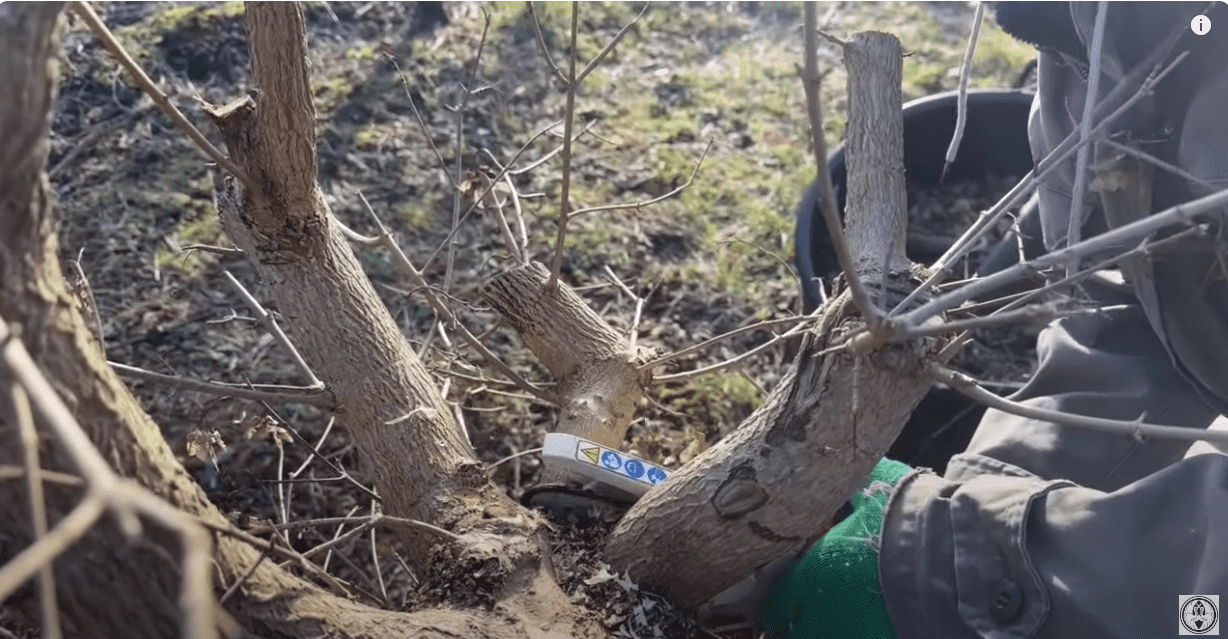
I also spot a potential problem with the trunk. Here we have what is called an 'inverse taper' where the bottom part of the trunk has become thinner than the top. This is caused by too many branches growing from this one spot. This is a problem that can be easily corrected by planting it lower in the soil but it is something we need to consider going forward.
I also need to make a decision as to which branch is going to be the leader. This can be a tricky decision and requires some imagination. I like the possibility of creating this as a twin trunk tree, but I also noticed another potential leader that could help to make this a nice curly tree.
I decide on eliminating one of the potential leaders and keeping the one that I think will create the most visually interesting bonsai.
I will make no further decisions on this tree for now. It will go into a training pot and into our nursery.
Example No.3
Let's move on to another tree that may mean some tricky decision making.
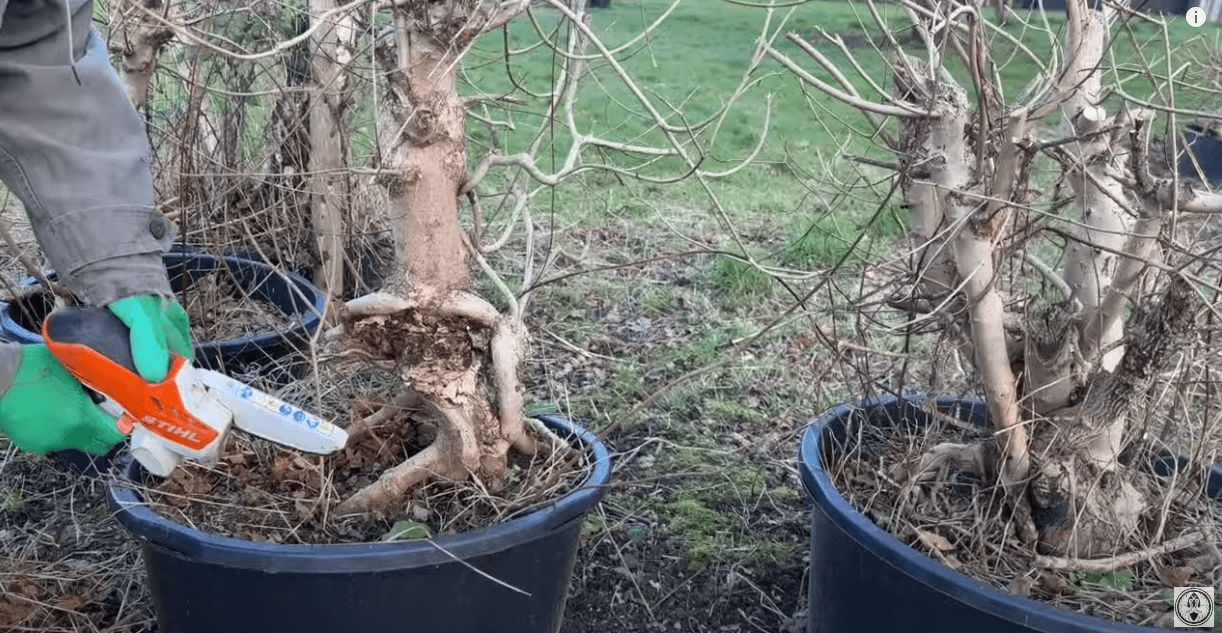
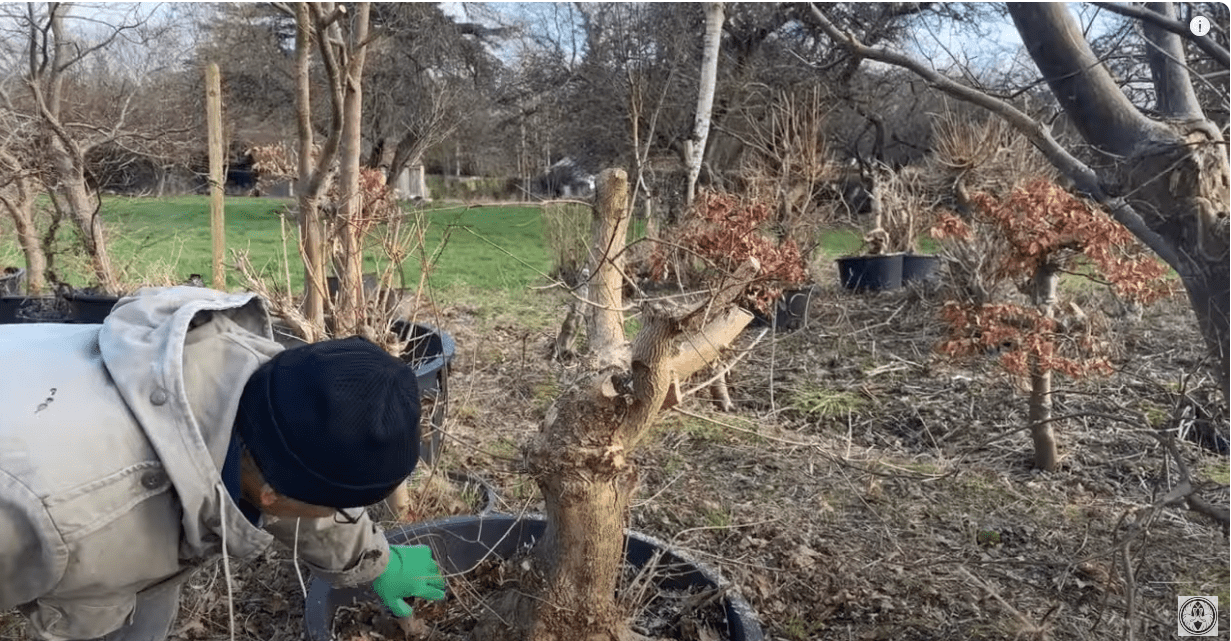
Like the previous example, this Beech tree was grown in the ground here in our field and then transported into a pot within the last couple of years. You can see just how vigorously this tree has grown as its root has caused the pot to burst!The first thing I notice when looking at this tree is that it has become quite one-sided.
I take a walk around the whole tree as usual to discover its possibilities. One consideration I always make is air layering. I try to be very economical with my trees, so I always consider air layering as an option. However, you can see our nursery is quite abundant with trees at the moment so air layering may not be necessary.
I know I want to reduce the trees height, but before I do that we need to make a decision on which branch will be the leader, as we have done with our previous examples.
If you are looking at this example and thinking to yourself that this branch would make a good leader, that's a great start!
This is not the only option however. It's perfectly fine to think creatively with your bonsai and make more radical decisions. Don't be afraid to go for the less obvious choice. Another possibility is the branch behind this one. Choosing this as a leader could help to create an interesting slanting tree. This is the leader I decide on.
I reduce the height by about three feet by chopping at the central trunk and pruning the branches.

Further Refinement
I make some easy further refinement decisions including removing any upward and horizontally growing branches. We want branches with interest ant movement. Branches that are too straight (either vertically or horizontally) will do nothing for the visual interest of the tree.
Tips on Decision Making
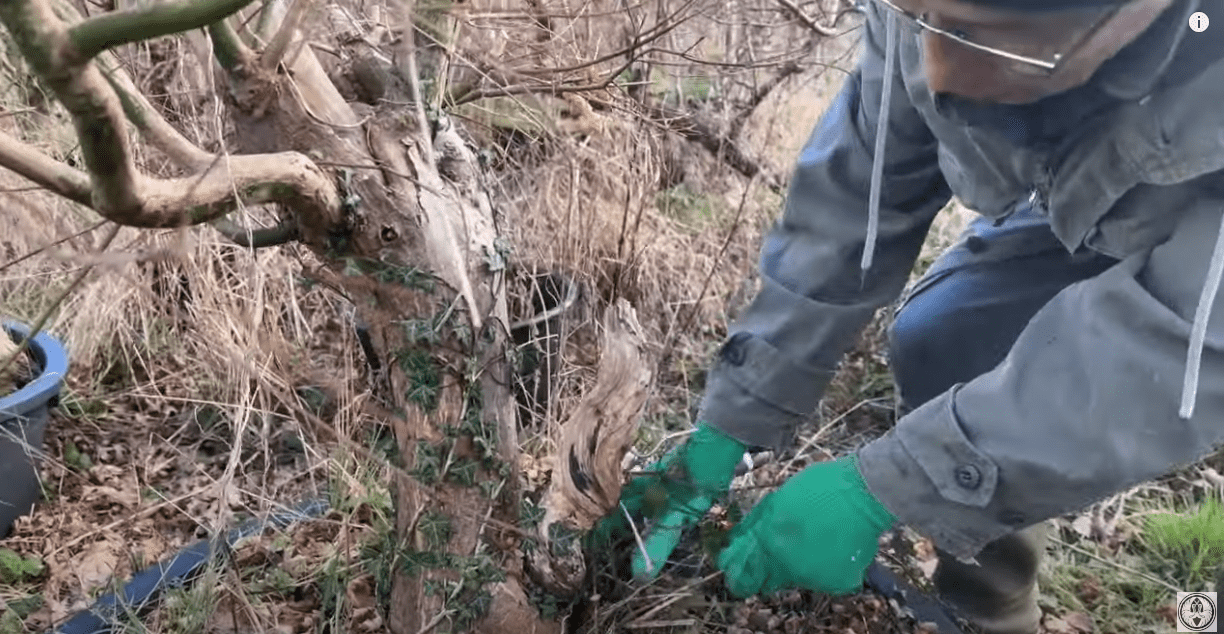
If you're struggling to decide on a leader, the decision you make at first does not have to be the final. As the tree evolves, you can make changes along the way. Be confident in your first decision and adapt with the tree. The leader I have Chosen leans back on itself. I don't really like this idea so I'm going to cut it at the point it starts to lean with my mini chainsaw.I'm also going to cut away another branch that is fighting with the leader I've chosen.
Tips on cutting
When making a cut, you don't need to always cut it right back to the point at which you want the branch to callus. You can actually leave a little stub behind and the wood will rot back naturally to your cut point. This is a technique I saw often on my recent visit to Taiwan. I want to cut away another branch that is fighting with my leader and I'm going to use this technique to do so. I will leave a stub behind and once the tree rots away to the cut point, the rot can simply be knocked off.
And there we have it! Another tree making its way to our nursery where we will let the leader take over before further refinement.
Field Maples - Drastic Decisions
Before we move onto another example, I want to show you this field Maple. This tree was initially grown in the ground and lifted out. Then, we made some drastic decisions in terms of cutting. We removed some major branches and it has resulted in some vigorous growth again. This is why it's important not to be afraid to bite the bullet with your bonsai!Example No.4
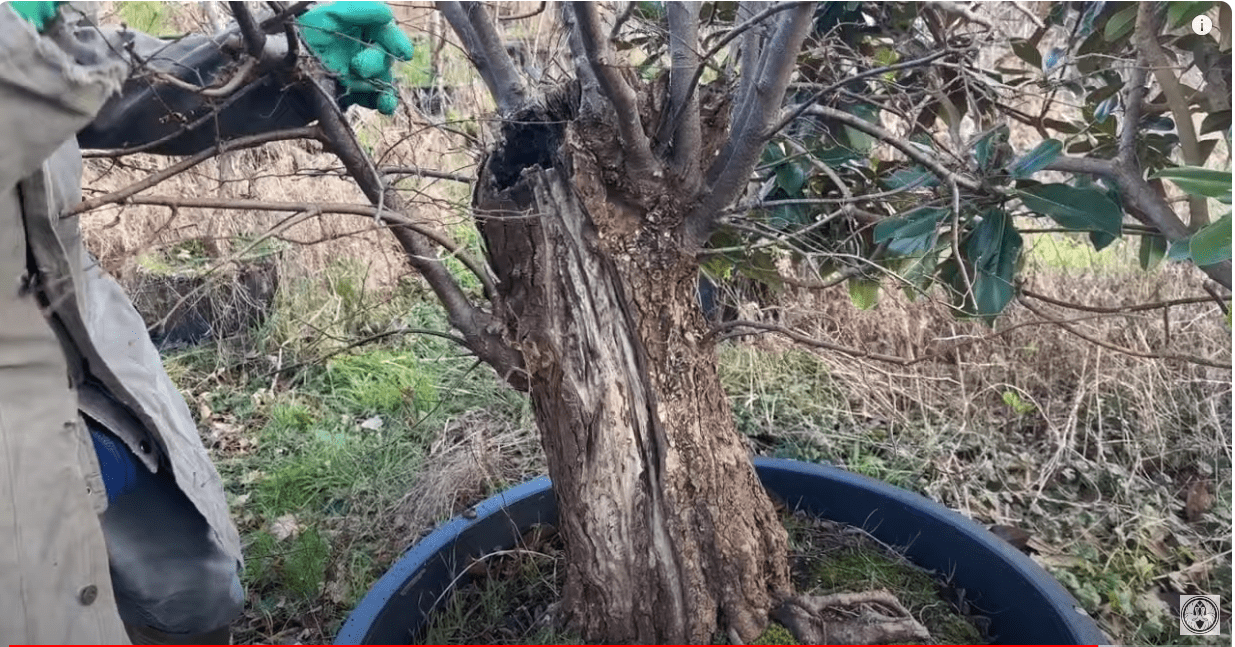
If you follow me through our growing field or 'jungle' you'll see all sorts of trees in all different stages of growth. This one in particular caught my eye because of its trunk. You can see that the trunk has rotted away and caused the trunk to develop in a stange shape.Although this tree has no definite taper, these exposed roots could make for a really interesting bonsai.
With this tree, I can make some initial choices fairly easily. I can see it is beginning to develop an inverse taper which I can rectify straight away with some cutting. I've left one branch behind as the leader and removed the rest to get rid of the taper.
We've transformed this tree fairly quickly with a few easy decisions!
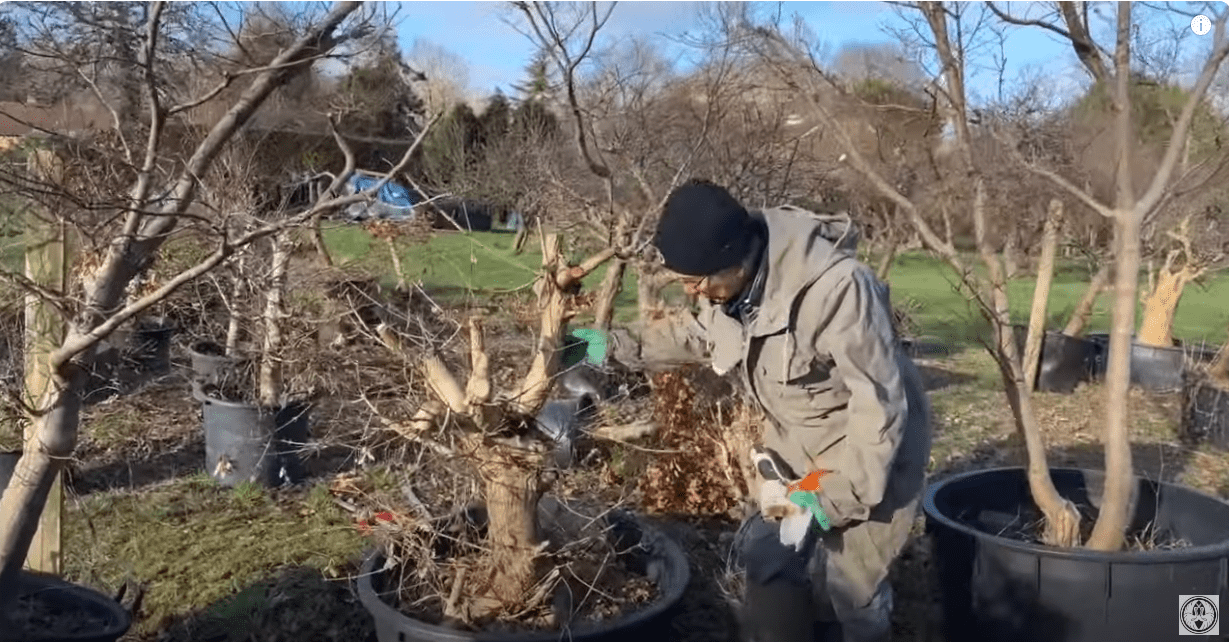
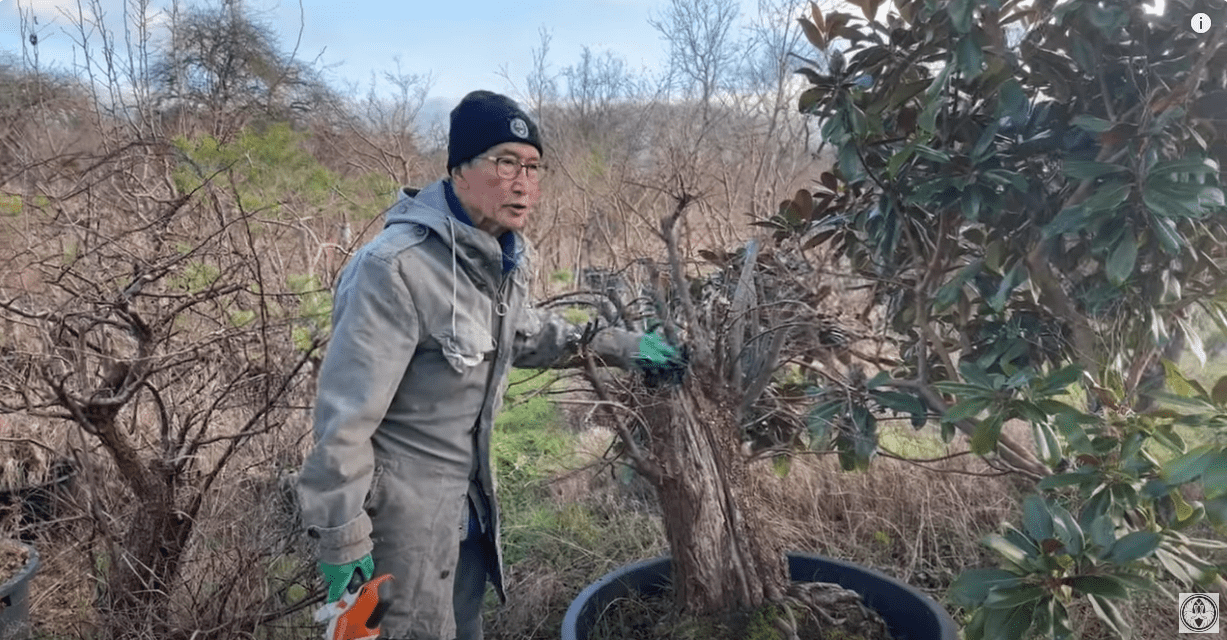
Example No.5
This next tree presents us with some challenging decisions.It's a pretty big tree. The pot it's in is about 3 feet in diameter. As usual, deciding the front and back of the tree is one of the first decisions. but before making my final decision, I can start off by removing anything I think is unnecessary. The base has a beautiful spread but all these root suckers are unnecessary and confusing to the overall style. Removing them is an easy decision.
As following the typical bonsai decision making process, my next task is to choose a leader. Here, my decision making gets a little trickier as we have four possible leaders. Making my decision even harder is that the base has two possible fronts: the base is equally attractive on both sides. To help me make my decision, I remove all the twigs and smaller branches. THe shape of the tree can really be seen now and I'm not worried about loosing them as they can grow back very quickly. Then, it's simply a case of taking a step back, looking at the tree and considering my options.
I start to look at each branch individually and decide whether or not it would make a good leader. This helps me make my decision by process of elimination.
Time to cut off the first branch.
In doing so, it helps me to make my decision on what will be the front. I take another step back and think creatively about the potential movement in my design. I want the end result to be interesting.
I finally decide to keep these branches and allow the tree to form a nice, large head. THe idea is to try and create the effect of a mighty oak. I think that's the best styling decision for this tree because of it's strong trunk.
Design and Shaping Tips
Creating Natural Effects
For the last couple of years, I've been cutting into this tree with the chainsaw with the plan of letting the wood rot. I'm doing this because I want the trunk to become hollow.
When you allow the wood to rot naturally, you get a much nicer effect than hand carving.
This Tree is a mountain maple. Here I tried a twisted trunk technique that didn't quite go to plan. I used wire to try and create the desired effect.
It's certainly worth experimenting with different techniques you want to try. Even if they don't go to plan. I hope this tutorial has provided you with some valuable insights into making decisions for your bonsai creations. For a more detailed exploration of the techniques and practices I employ in our bonsai nursery, feel free to watch the full video below, or on our YouTube channel.


.png)