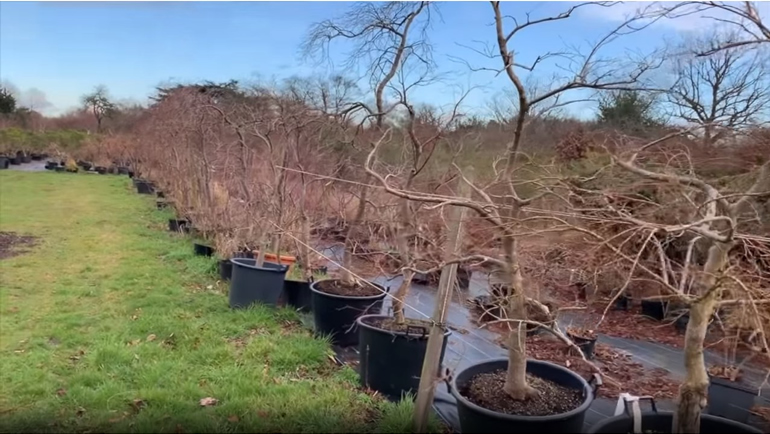
Those of you who have visited our nursery in Lingfield Surrey, will know that we have a seven and a half acre growing field, where we grow all our maples and other raw material. We don’t just grow maples but pines, junipers, elms (most varieties used for bonsai).
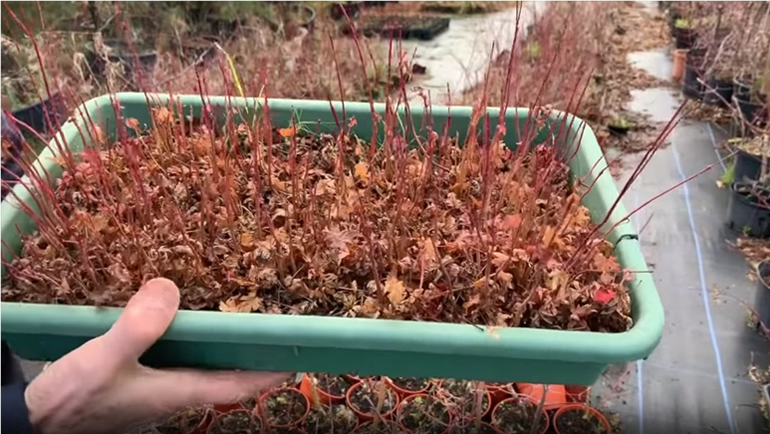
Maples are my particular favourite however. I love their vivid seasonal colour changes and refined branches. Our maples are grown right from seed. Below are some maple seedlings which I sowed last year. In the spring will re-pot each seedling individually and grow them all.
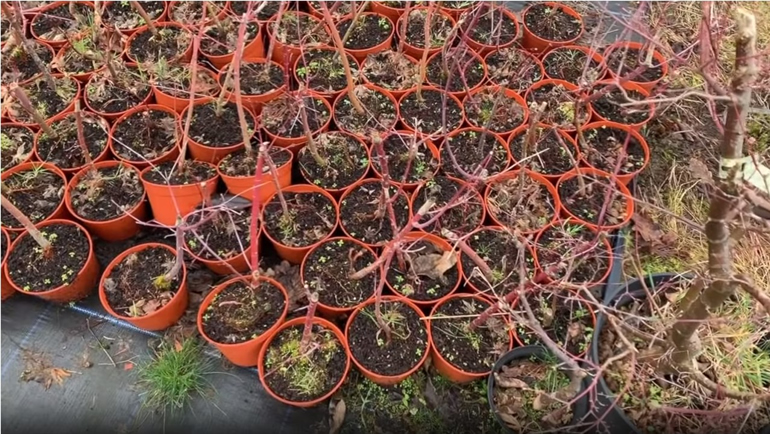
These are all maples that we have grown from seed over the years. You can see they have become quite thick (about the thickness of a finger or thumb).
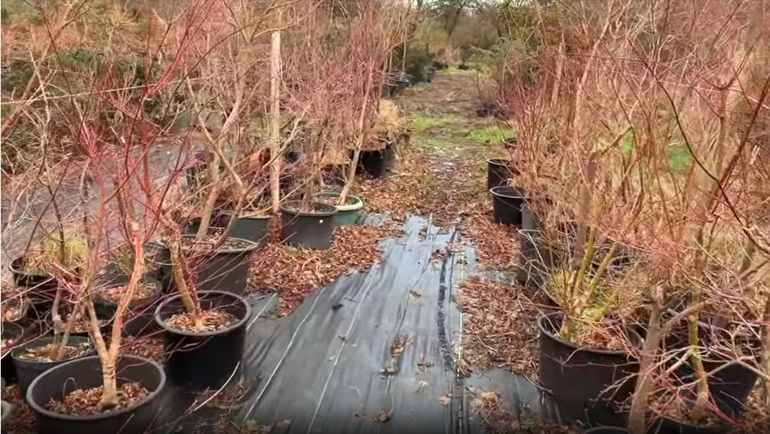
These are all maples at a later stage. We allow the maples to grow nice and tall so we get a solid, thick branch. You will see some are grown in the ground, and some have been potted, we have thousands!
When it comes to making shaping decisions for your bonsai, it’s important to realise there are no hard and fast rules. Every bonsai is unique and will require its own set of styling choices. I want to show you some examples of how I begin to style Japanese Maples at this early stage.
The tall trees which are 4 to 8 feet height, would have been air layered at about this height (shown below). The top part would have either been used for another air layer, or cut off and thrown away. Where it has been cut, you can see lots of side branches growing and the new leader growing nicely.
Now, let's take a further look at this tree... you can see that this part has died off But I’m not going to cut it, I’m just going to let it die naturally. Once the wood rots it will callus over. If you cut it too soon, this may result in further dieback.
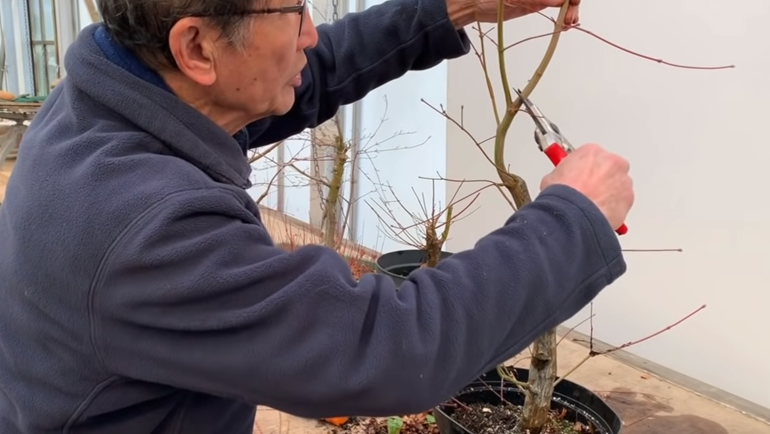
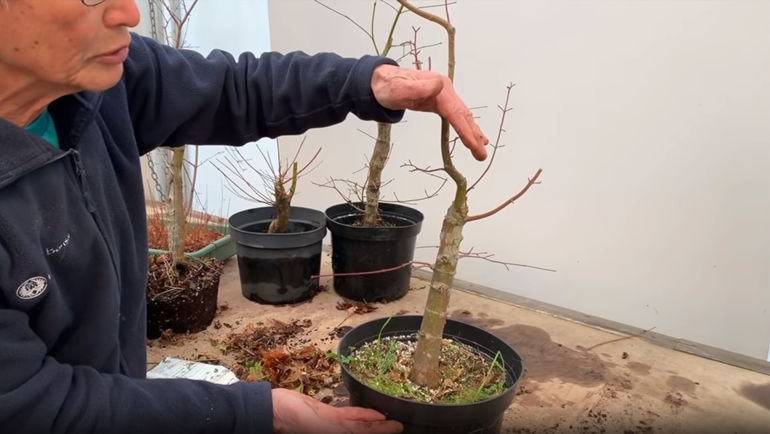
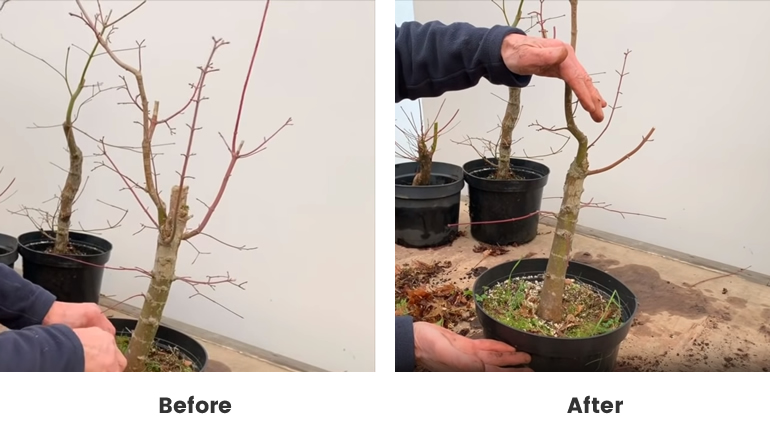
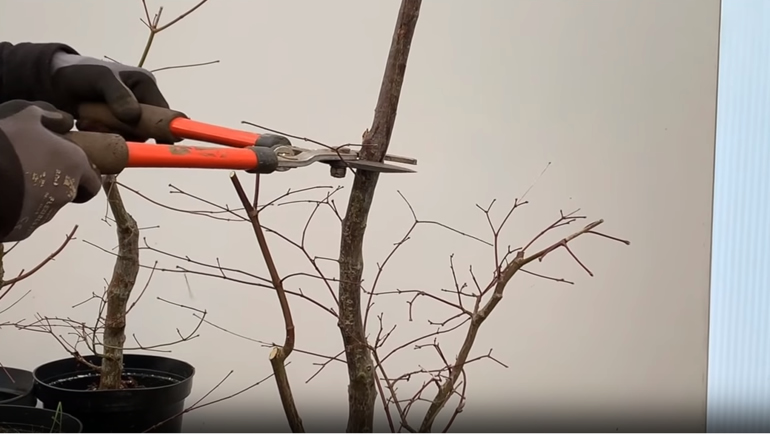
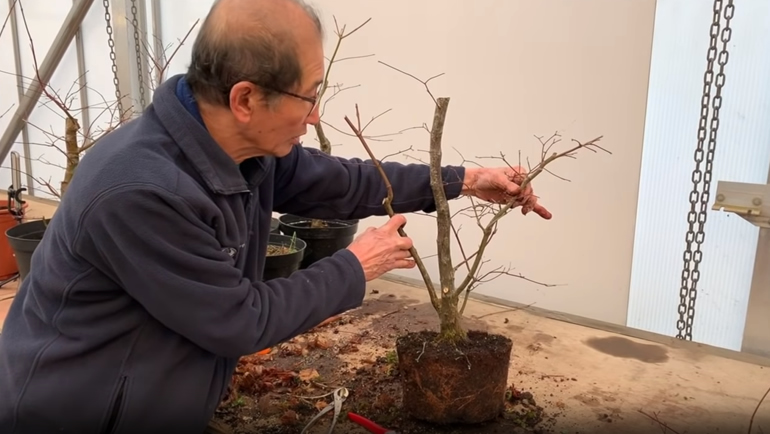
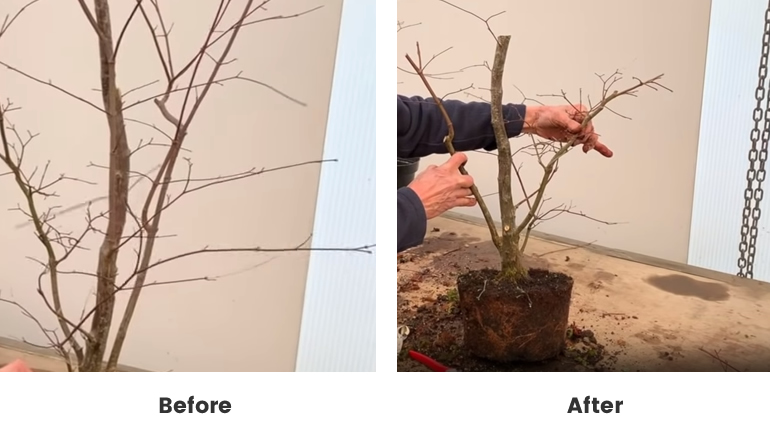
At this stage I will just shorten these twigs, so all the tree’s energy is not spent sending long shoots. By doing this, I will encourage more twigs to develop, and the leader to shoot up.
I’m not going to cut the leader now, If I cut it at this stage it won’t get a chance to develop. Instead, I want to let it grow nice and tall, so the leader will become thicker and the tree will develop a more defined taper.
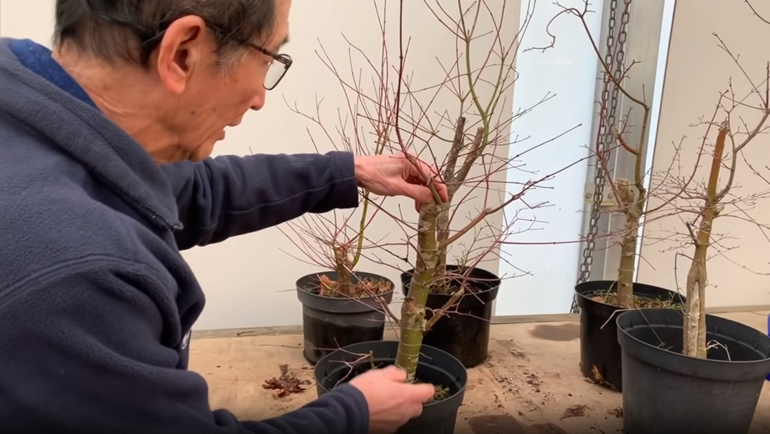
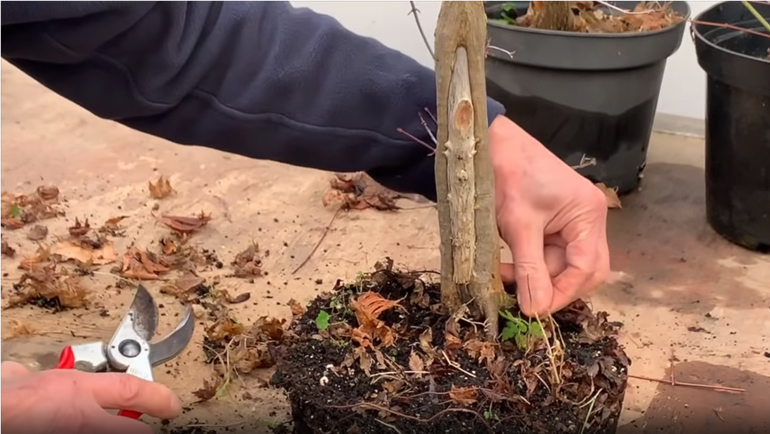
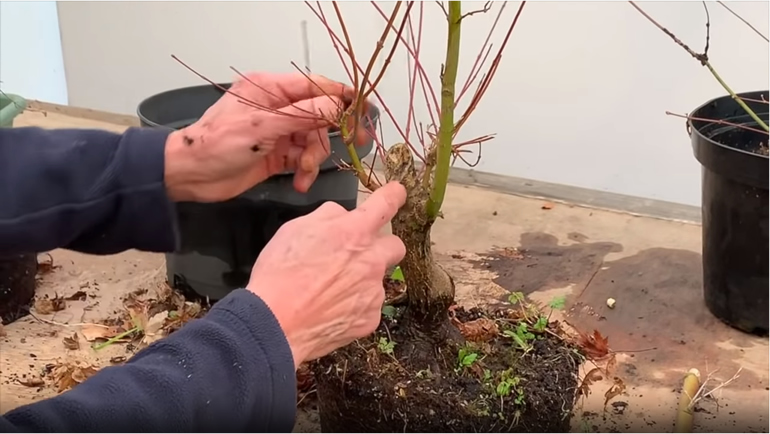
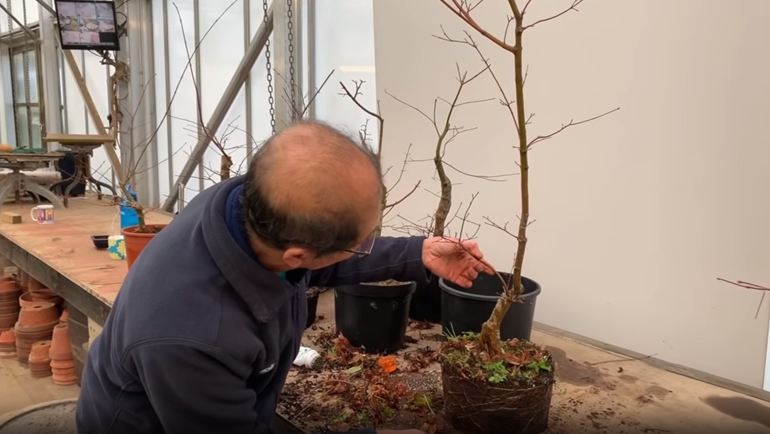
Now onto the next example...This tree is very interesting. As you can see there has been a bit of damage to the front which has caused a natural Shari, which will in fact become a feature of the tree.
Unfortunately, the leader is growing in a slightly twisted position, which means the front may need to be adjusted slightly.
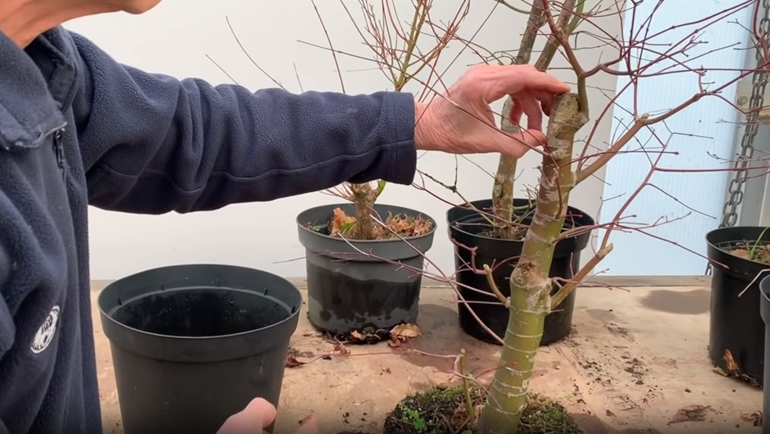
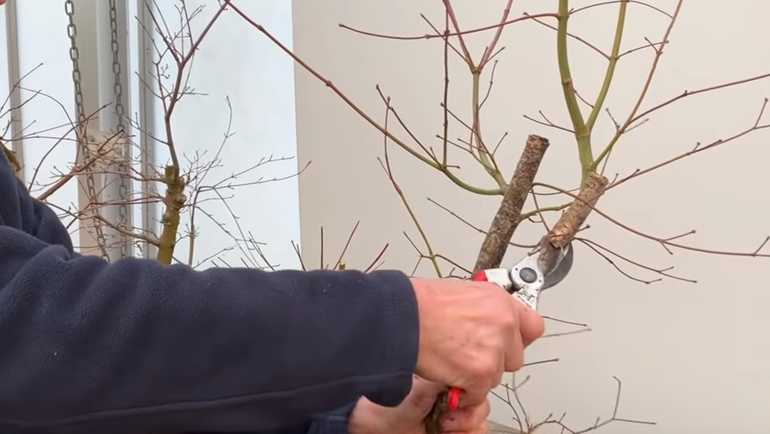
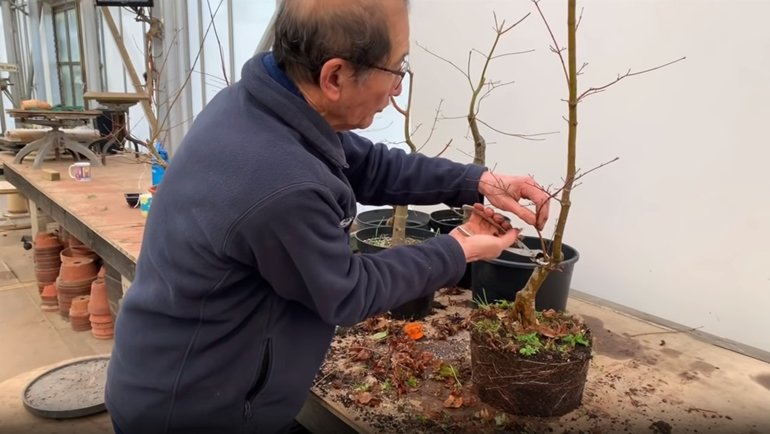
Now that the new leader is growing, it means I can safely cut this branch off. When I cut, you’ll notice I leave a little stub proud, I do this because if I was to cut further down, the tree could dieback to further point than I’d like. Leaving a stub means it will die naturally to here instead. This obviously requires a little patience but it is worth it.
Once you’ve cut it, you can seal it, but I don’t think there is any need. It will either callus over or just dieback to the base of the stub.
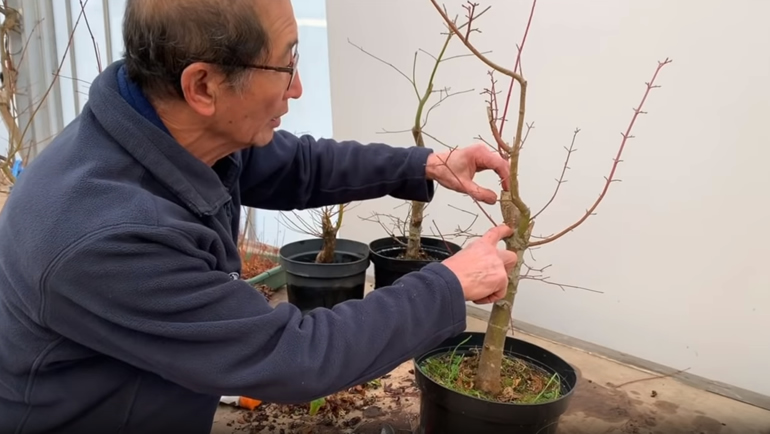
I want to let the leader grow tall, so I’m not going to attempt to cut it. I could wire this out a little bit, but that is all I will do to this tree for now.
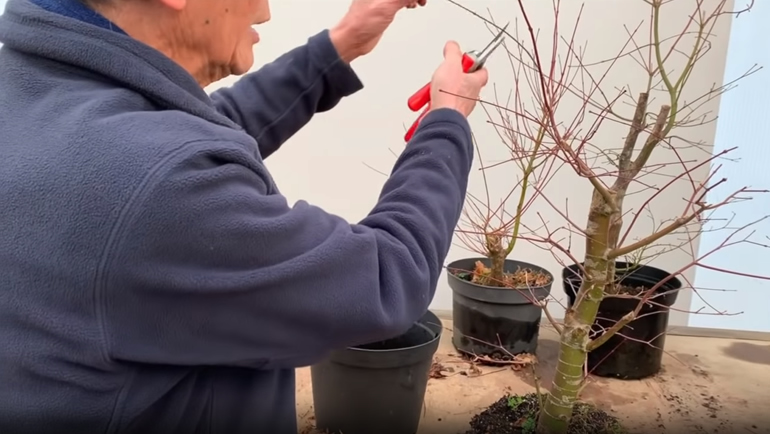
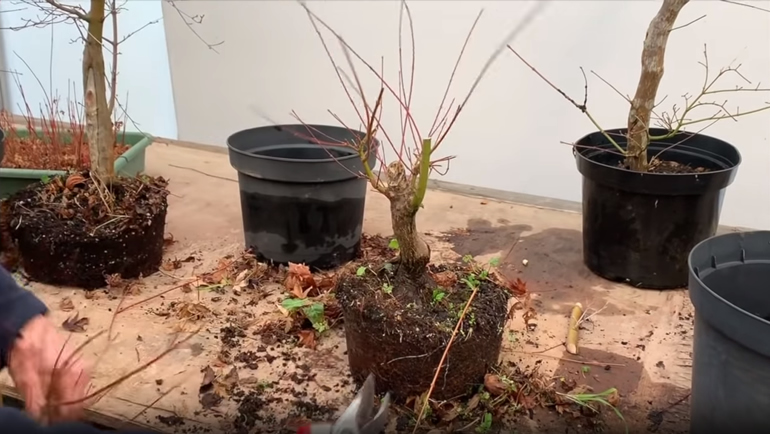
Moving on to the next tree, I believe this could be a beautiful broom style bonsai. I’ve already cut it here, and left this stub so it can dieback naturally.
You can see I’ve now cut the green branch, and trimmed all the long shoots.
Now Let’s take a look at another example.
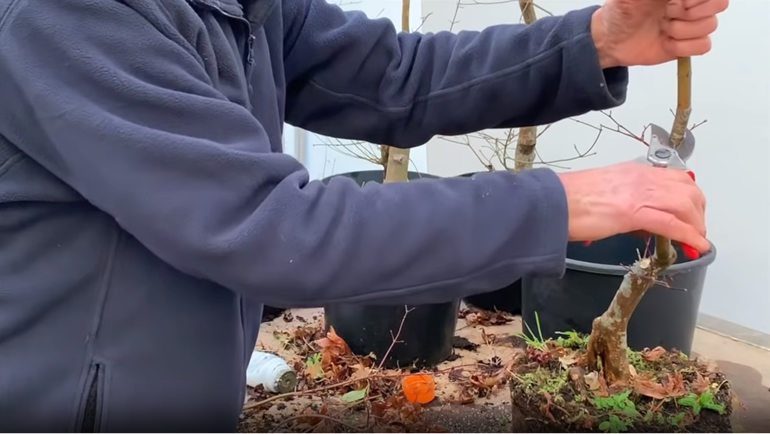
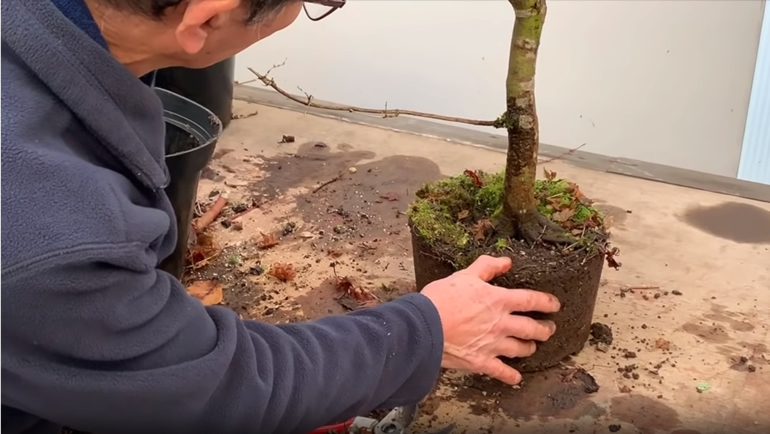
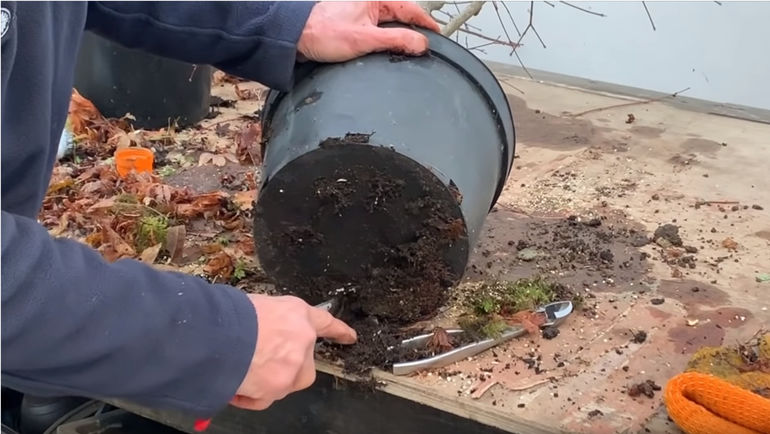
I usually like to take the bonsai out of the pot so I have a clear view of the roots, however this tree is a little stuck, so I’m leaving it in for now.
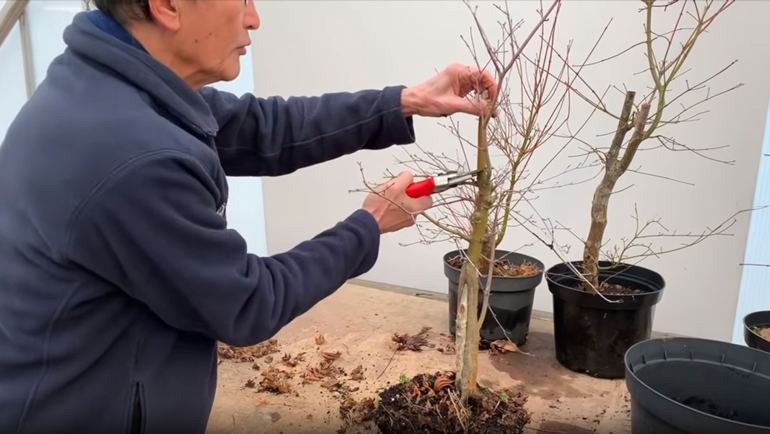
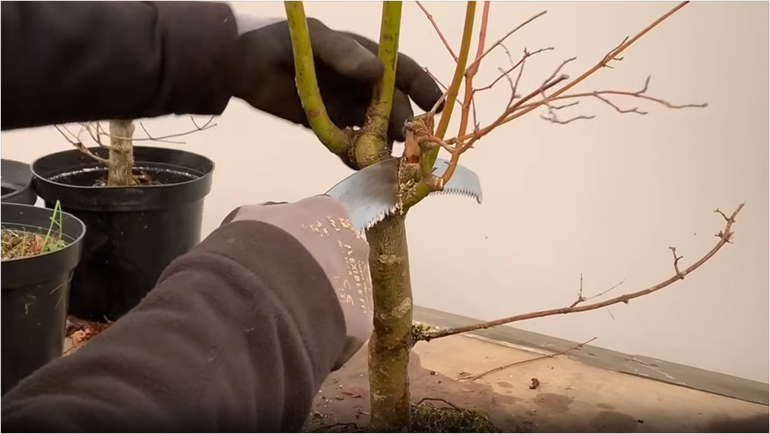
I have previously cut the two branches at the top. In the picture below you can see where they have died back to. So I will cut that off.
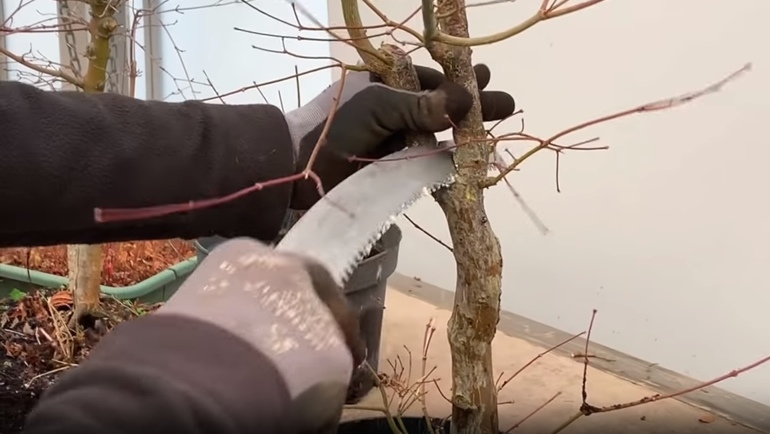
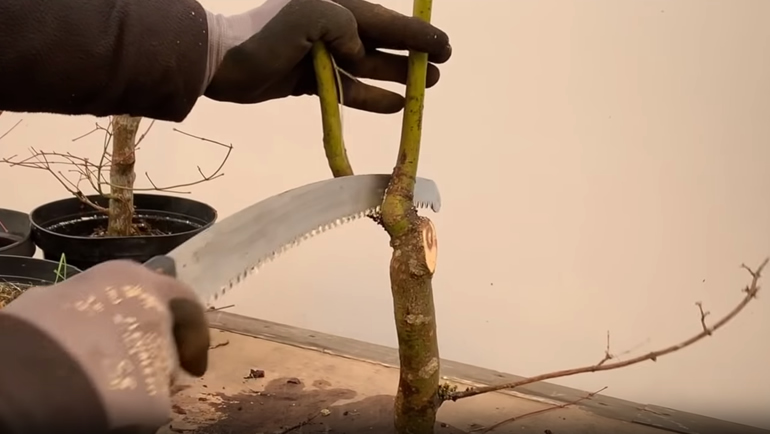
It has two heads at the moment, which I don’t want, so I’ll get my colleague to cut it for me with the saw.
As I’ve mentioned, I don’t usually like to cut flush, because if I do this it could die back further. However there are no hard and fast rules when it comes to bonsai, and in this instance I think I can get away with cutting it flush and sealing it.
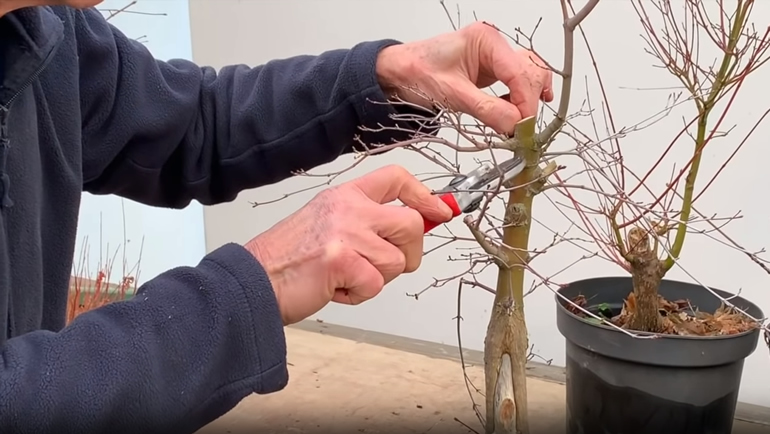
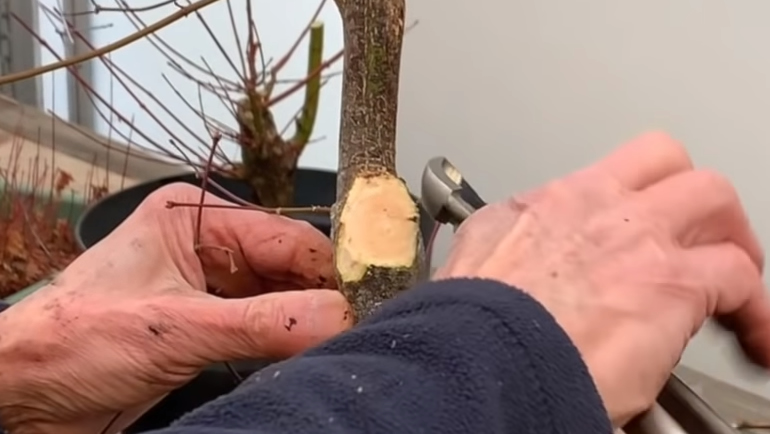
If you wish you could finish off this cut with a concave cutter, but I’m going to use a hybrid cutter. This hybrid cutter is a mix between a wen cutter and a side branch cutter and it does the job of both.
I just use the hybrid cutter to smooth the cut a little.
Tip: I find the best times of year to do this work are either very early spring or summer. If you choose to cut your bonsai spring, it’s a good idea to protect it in an unheated greenhouse. If you cut your bonsai summer you’ll find the cuts heal and callus over very quickly.
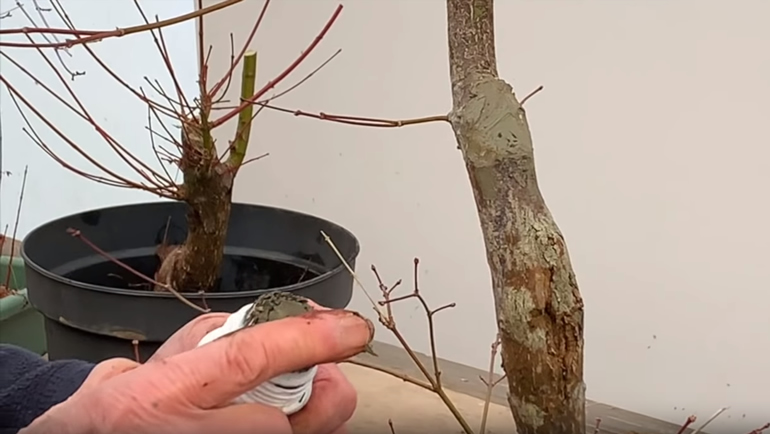
Now that I’ve made those I will seal them using lac balsam sealant. Japanese cut paste can also be used, however thicker pastes such as that are best to use in the summer. If it’s too cold you’ll find the paste is not very pliable and difficult to work with.
It is not completely necessary to seal it but I find it does help.
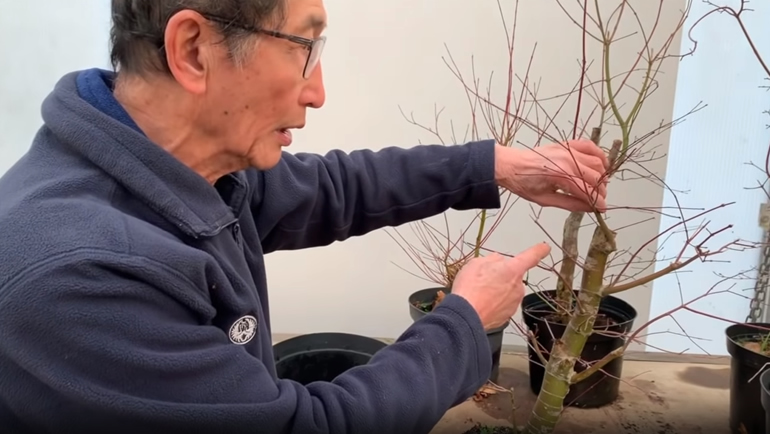
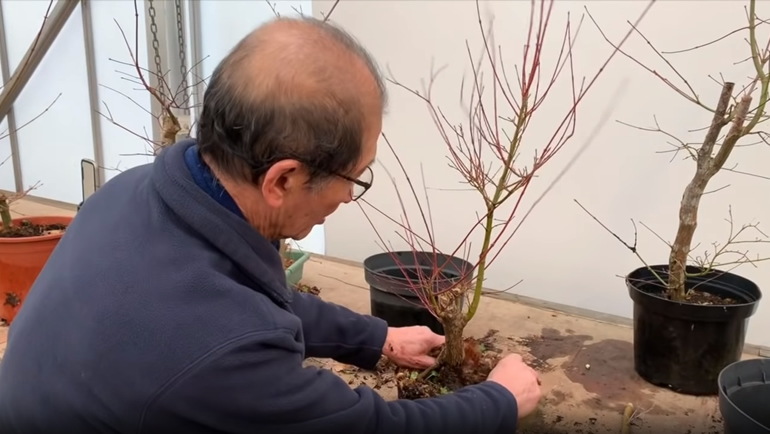
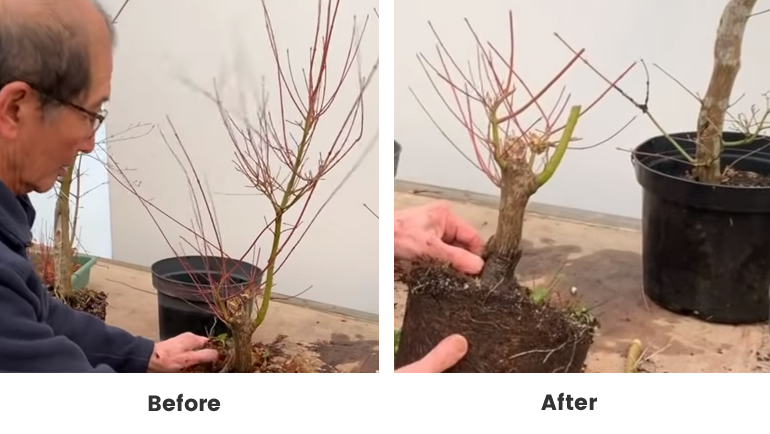
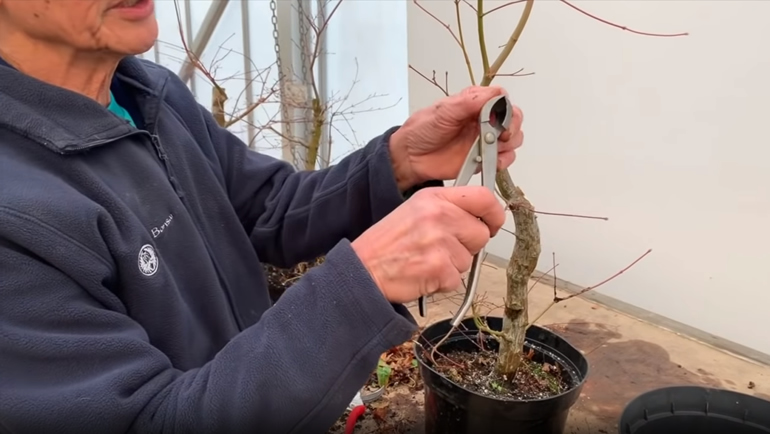
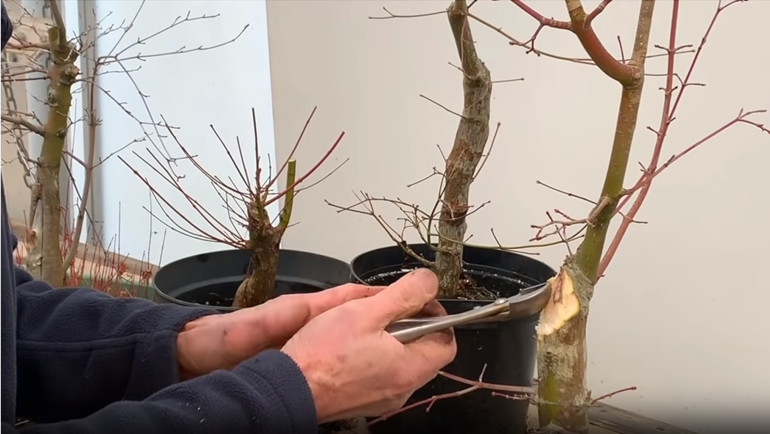
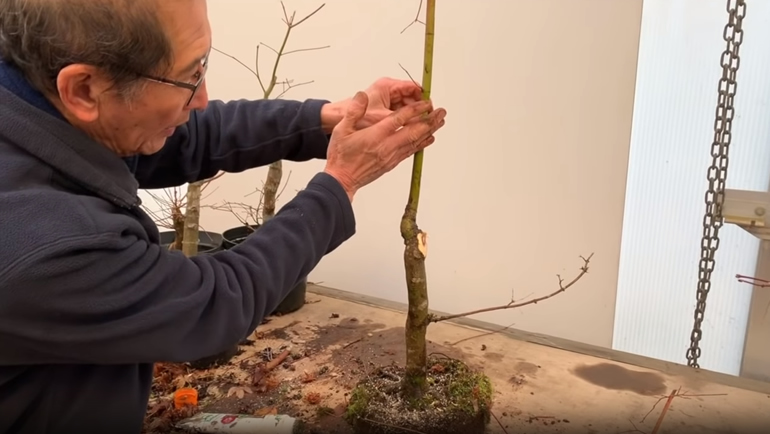
If I want to create a good taper on this tree, I’ll need to let it grow a little more. As the tree grows the leader will thicken. Now that it has become thick enough to cut however, I’m going to get rid of this excess. I’ll leave a good 1 ½ inch gap so it will die back to the point I want. Then I’ll shorten some of these smaller branches and that’s it!
Let’s take a look at another bonsai.
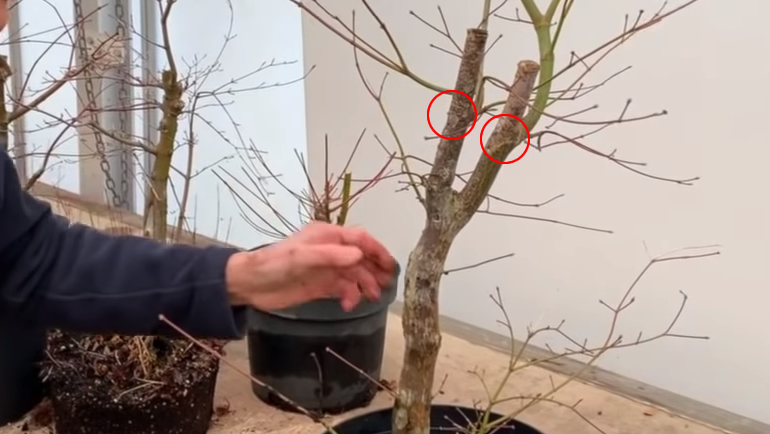
With this tree, you can see where the original cut was made and where it has died back to.
This is one reason I never rely on the leader to grow where the bonsai has been cut. The new leader has in fact grown in a different place, so I’ll make a cut here.
I’ll use the hybrid cutter again to smooth the edges. I’m doing this to create a more sympathetic edge and achieve a nicer taper.
As the leader on this tree is growing so strong, I don’t have any fears of it dying back too much, I know it will take over.
I’ll just do some final pruning and cut down the shoots which are little too long. Then I’ll seal the cut and leave the tree for another year!
TIP: If you feed the tree very heavily during the summer growing period, you can be sure you’ll get lots of new growth, including new twigs, branches and shoots.
This tree was actually about two or three metres tall but has been cut down to this size. We grew it tall to get the thickness of the trunk. As a bonsai, it won’t be any taller than around 40cm.
I’ll now take a look at the next bonsai.
First of all I can see there’s no point letting this branch grow as a leader so I’ll cut it off.
I want this bonsai to be around 40cm or so. So I’ll cut the leader to shorten it, leaving a little space for dieback and then seal both cuts. That is all I will do with this bonsai for now.
Ill now show you another example… I feel the more examples I can give you, the more confidence you’ll have in making the right choice for your own bonsais.
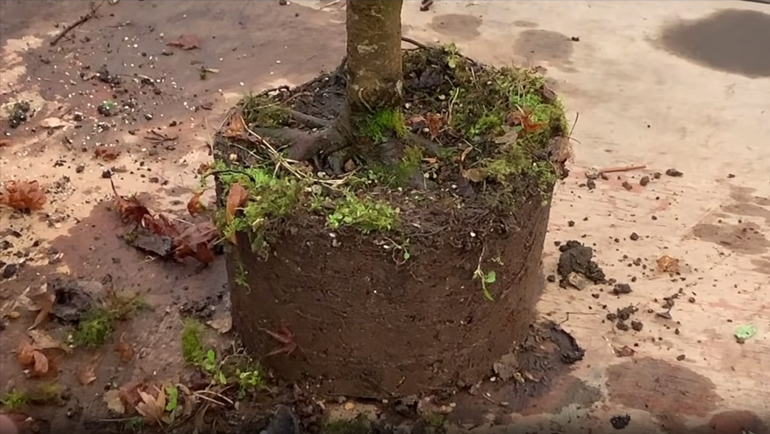
Although this bonsai has been cut, it has formed several leaders. This can become quite confusing so I’ll need to choose one. Usually the base of the tree helps to determine the front and back of the bonsai and this tree has a very interesting base.
Upon looking at the base, I can see two angles that capture the trees nice root spread, I think both will make really nice fronts.
I think the best option is to cut it here with the saw and cut the left branch off altogether, making the middle branch the leader
Now we have cut the branches you can see the tree has a gentle taper. I’m going soften the edges of the cuts slightly using my hybrid cutter.
In its latest stage, this bonsai will probably end up around 50cm high. For now however, I’m going to let it grow further that that in order to pull up the sap and encourage lower branches to grow.
As you can see, a lot of patience is required when working with Japanese Maples, unlike creating a bonsai from a conifer such as a juniper or yew where the effect is almost instant.
Again, I will seal the trees cuts with the lac balsam sealant.
Now, we will look at the final bonsai.
This tree has been growing roots very quickl It has been in the pot for only a year, yet the roots have already begun to grow though the pot! In some case the roots can become very thick and it’s almost impossible to remove the bonsai from its pot, luckily I’ve caught this bonsai in time!
Next I want to make this branch the leader, so I will cut it to the desired height.
Those are all the shaping decisions I need to make for this tree at this stage. As you can see this is going to be a very nice multi trunk tree.


.png)