It’s the end of December, the shortest day has passed and the days are getting longer. We are now able to start digging our field grown trees from the ground and start turning them into Japanese garden trees and bonsai.
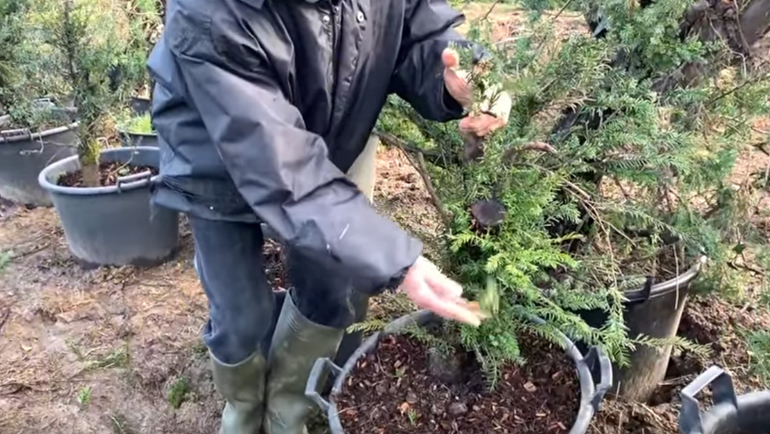
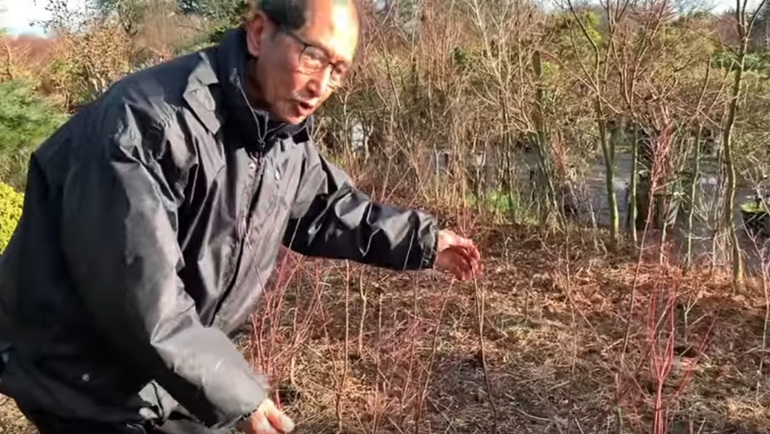
Behind me are some Japanese Yews and Maples which have been dug up from the ground already.
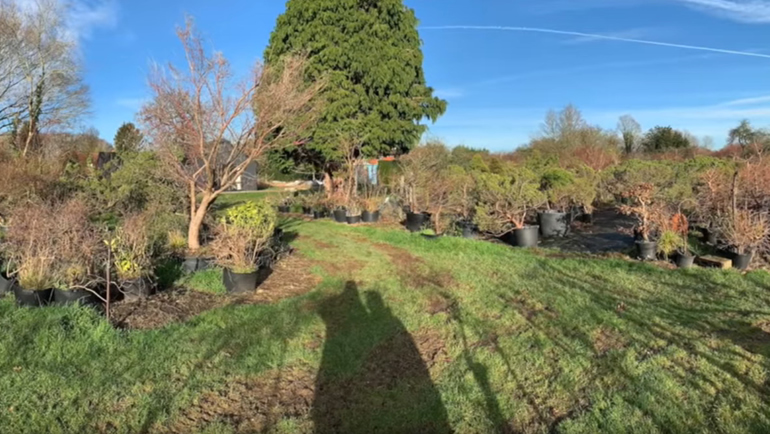
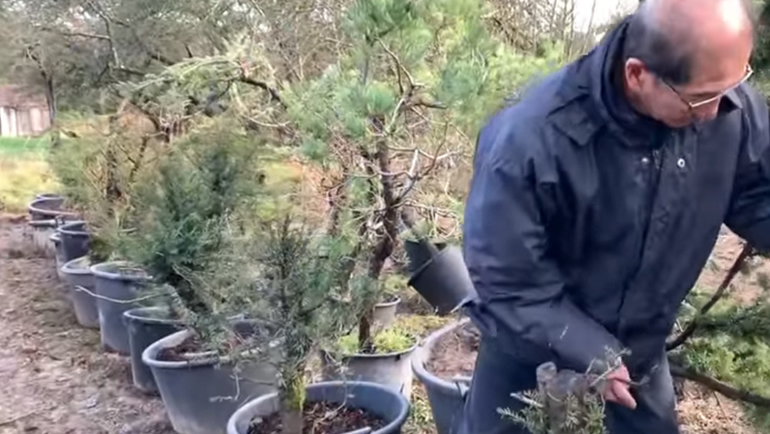
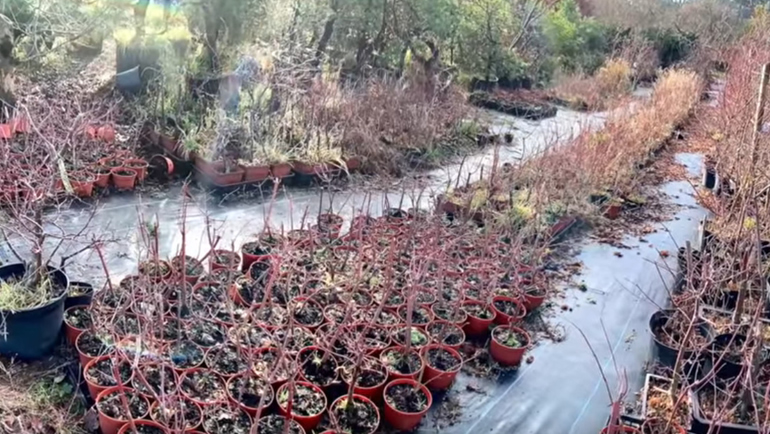
If we walk around we can see the vast array of trees that we have. On our 8 acre site, more than half the nursery is devoted to growing our own trees, meaning more than half the trees we sell are grown here.
As we walk around the nursery you will see we grow a lot of Maples, Pines and Yews, but we also grow various other varieties too such as this European Hornbeam.
The trunk diameter of this Hornbeam is almost 18 inches across at the base. This tree has been grown in the nursery for the last 30 years and is well on its way to becoming a bonsai.
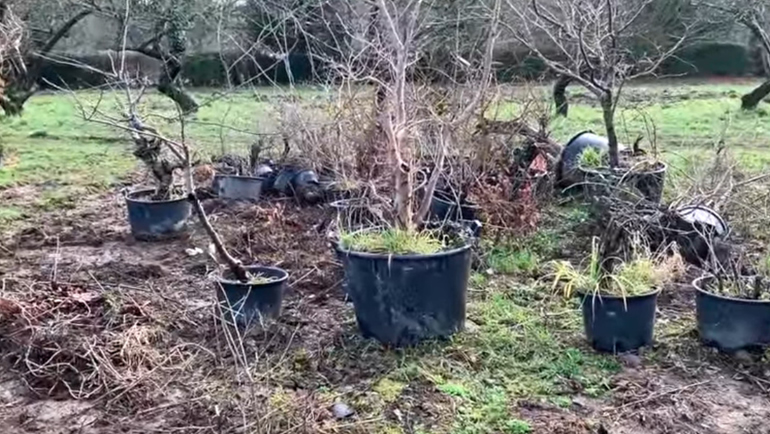
As we take a look around, you will see all sorts of trees which are waiting to be re-potted or dug out. This is where our bonsai start.
This is a large Japanese, grey bark elm. It has been growing here for only the last 10 years but as you can see it has a lovely, thick trunk. This tree will most likely be air layered in the middle of its trunk so that we get shorter bonsai from it.
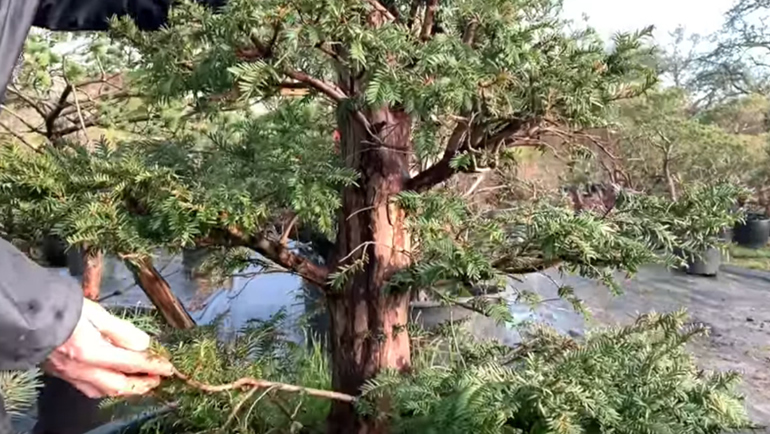
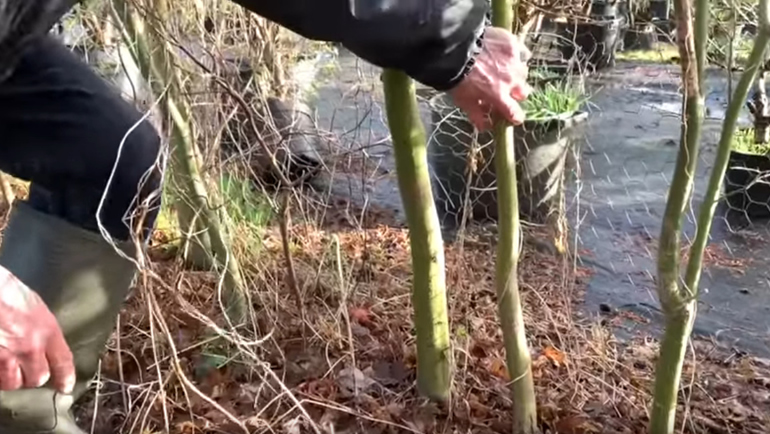
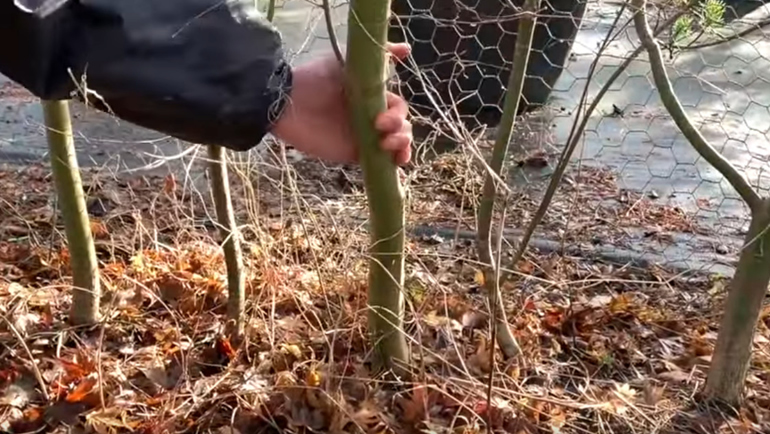
This is an English Yew that we have been growing in our field for the last 30 years. Our English yews only start off with pencil thin trunks, but after 30 years of growing, they eventually become about 4-5 inches in diameter.
These English Yews have been dug up and cut hardback to a height of about 60/70cm from around 3m. The trees will now grow their branches again. We have hundreds of these waiting to be made into bonsai.
This is a large trident maple which has been grown in the field for the last 20 years. As it is a tall tree, we are air layering it so that we get two bonsais from it.
This is a large English Yew that we dug up about five years ago. As you can see it has a beautiful trunk and is already starting to look like a bonsai. A lot of people have expressed interest in this tree and it will go to the right home when the time comes.
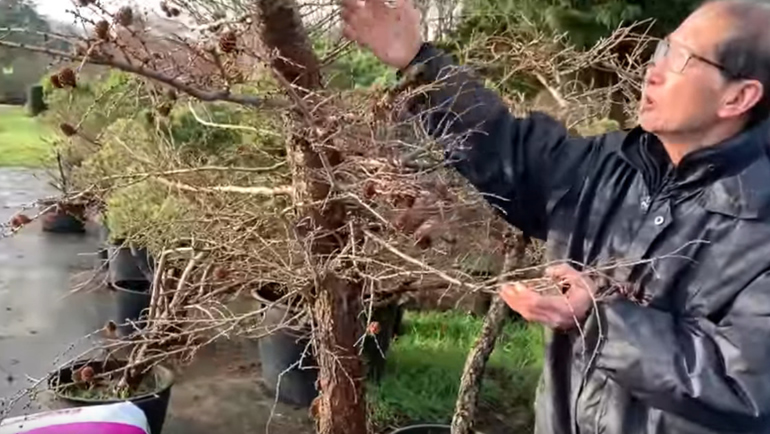
This next tree is a Japanese Larch. We grow these as Japanese garden trees.
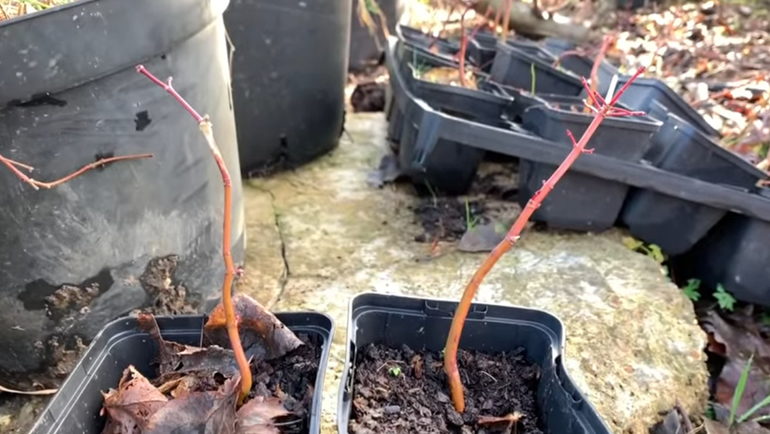
We produce thousands of maples at Herons: some are grown from seed and some are produced from cuttings. These are seedlings which are about two or three years old. We cut these seedlings regularly so they don’t get too tall.
These maples are about 5 or 6 years old. As you can see there are thousands of them: some we keep in pots throughout their lives, others we grow in the ground which helps thicken up their trunk.
These maples were planted in the ground two years ago as two-year-old seedlings. In the next few years their trunks will really thicken up. Behind these are more maples that we planted around six or seven years ago. You will see that, even though all these trees are the same age, some have much thicker trunks than others.
All these maples are due to be lifted in the spring.
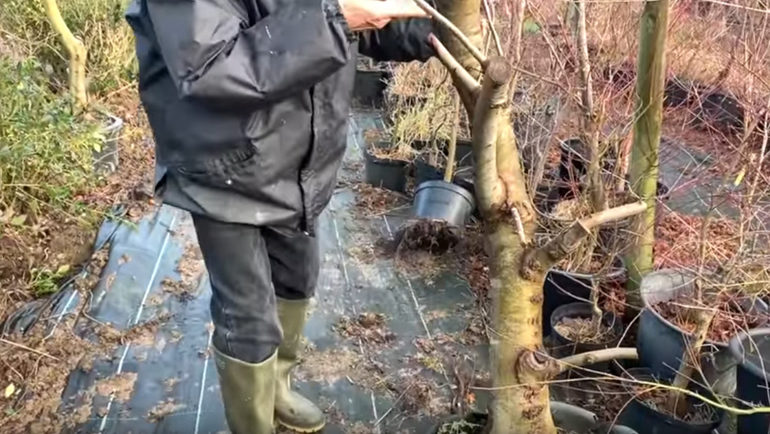
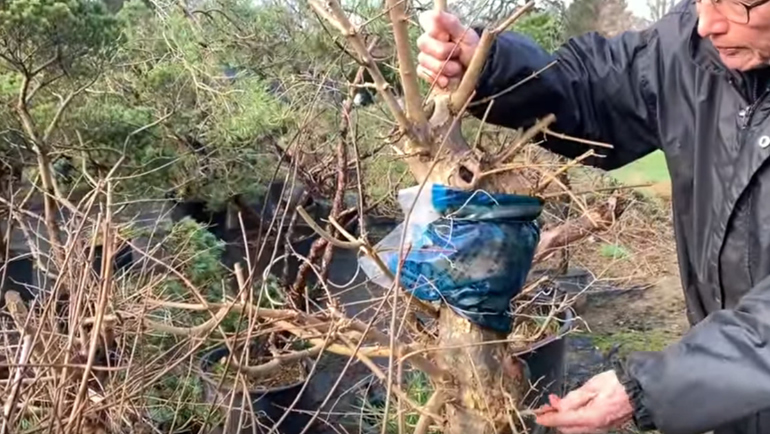
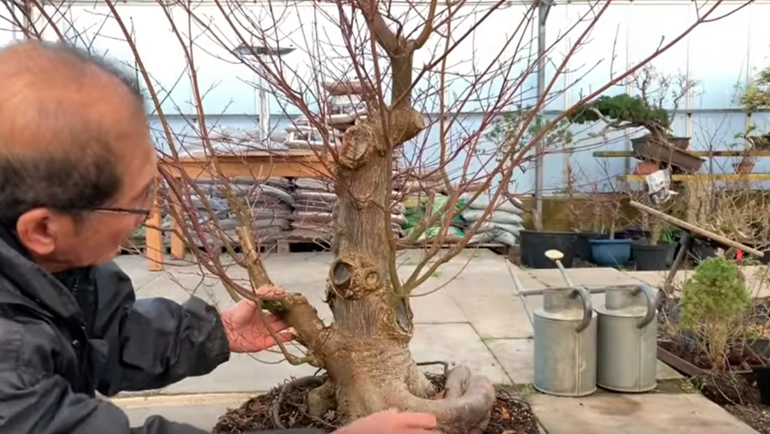
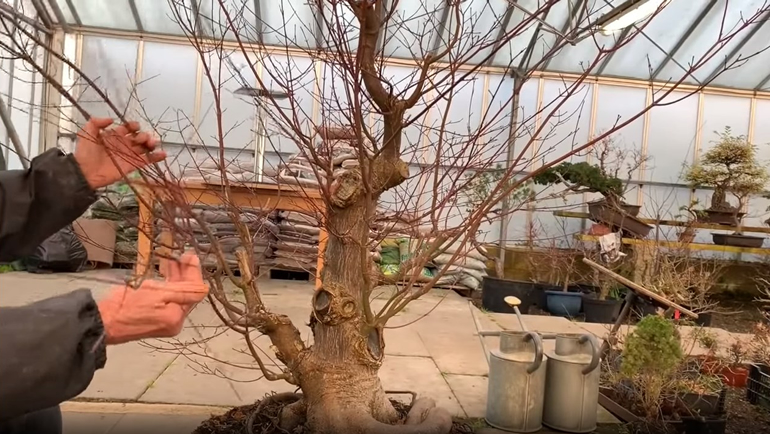
Now that I’ve shown you some of our trees growing in the nursery, I want to show you how I begin shaping them. Here I have a great, beast of a maple which I am going to tackle! Japanese Maples are usually delicate trees and should have a feminine shape with a slender trunk. However, I like large bonsai, so I sometimes create maples which have large trunks such as this.
This maple has a long history, when I first got it the trunk was only about 2cm in diameter. We grew it in our field for the first 10 years, after that it was lifted from the field and put into a flower pot. I left it in the pot for the next 10 years, in which time the trees roots continued to spiral around the inside of the pot and deep into the ground. Maples are such vigorous trees that their roots often break though their pot like this.
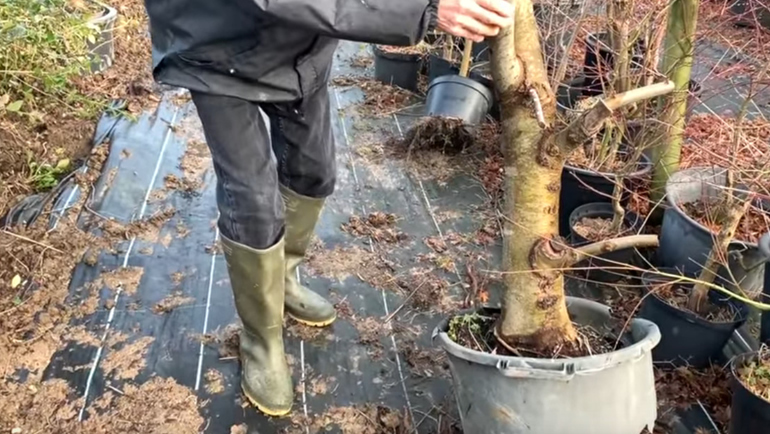
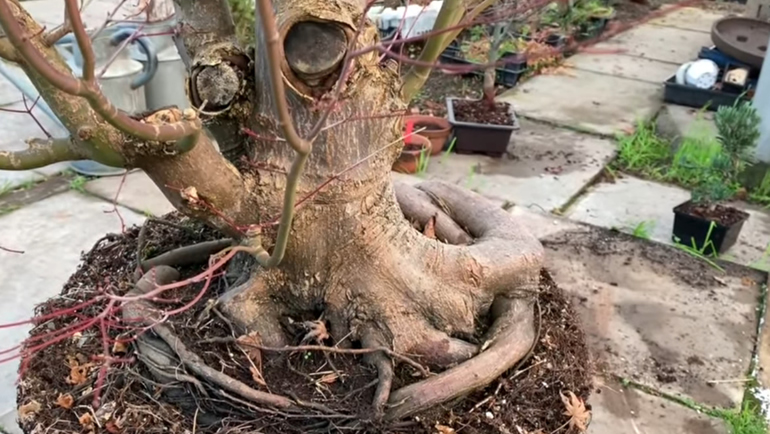
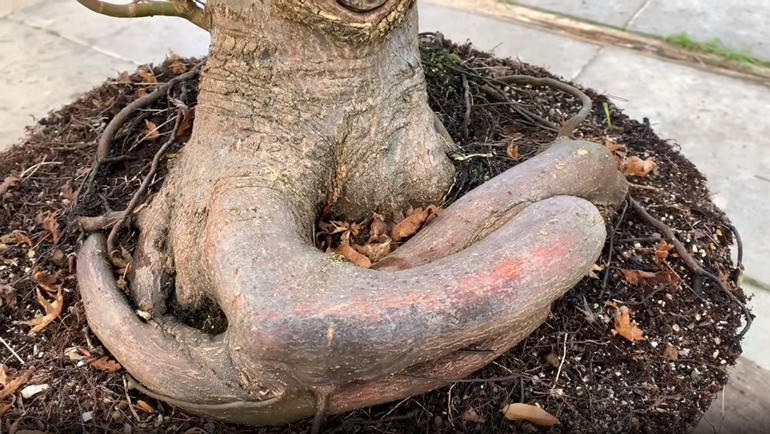
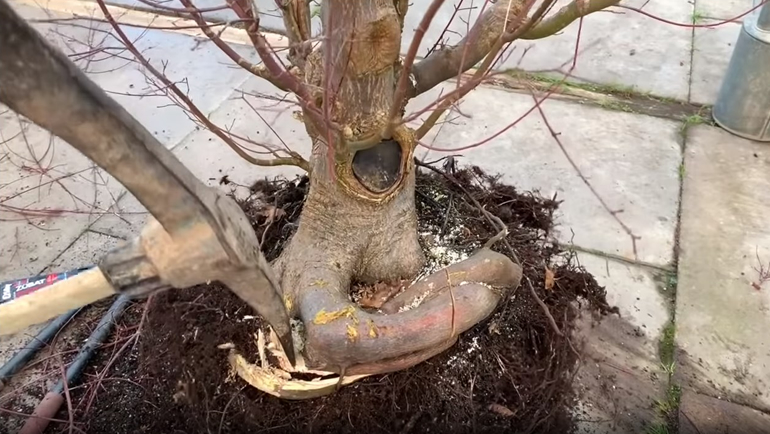
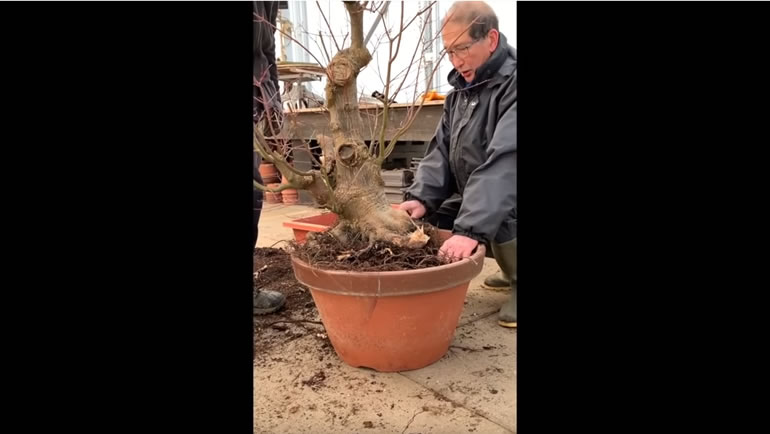
Around 3 years ago, I took the flower pot out of the ground and put it into a large container, where the tree has remained for the last two or three years. As you can see, this is a very powerful looking tree. Unfortunately, however, it has a really unsightly root spread. I have shown this tree to many customers who do in fact like the look of the roots, but for the seasoned bonsai enthusiast/grower the roots are an eyesore.
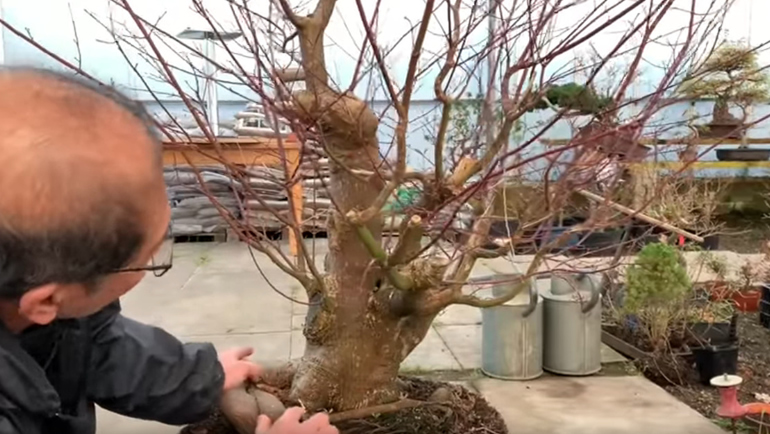
Before I tackle any other part of the tree I will first get rid of these roots which will instantly make it more appealing. I’m also going to determine which side of the tree I will use as the front and which I will use as the back. To help me decide this, I will place the tree on a turntable which will allow me to rotate it easily.
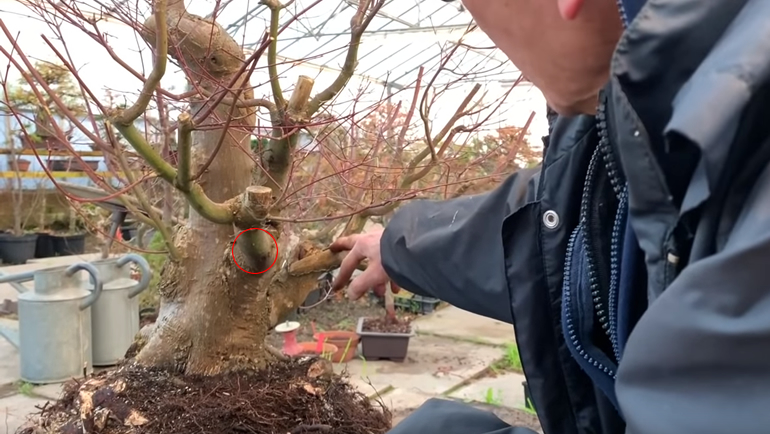
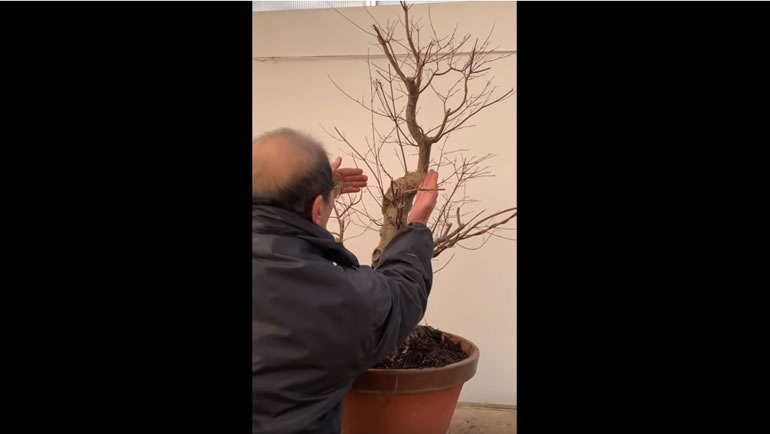
Choosing a front for the tree is a very important step when creating any bonsai. Until you find the front, you cannot really proceed with the overall design. So, let’s look at this tree from all its different angles. If I turn it around slowly we can see all the work I have done to it over the years. For example, here is where I cut a large branch from the tree, which is now healing quite nicely.
I’ve also cut off more large, thick branches here.
This first side has potential as the leader is growing backwards and you can’t see the cut, however I still wouldn’t say this is the tree’s best side.
As I turn the tree this next angle has a branch coming straight towards you. Unless I cut this branch off completely, this side wouldn’t make a very good front.
As I turn the tree I can see this next side has the potential to become a very interesting front. If I was to cut the tree down the two left branches could make a very interesting feature.
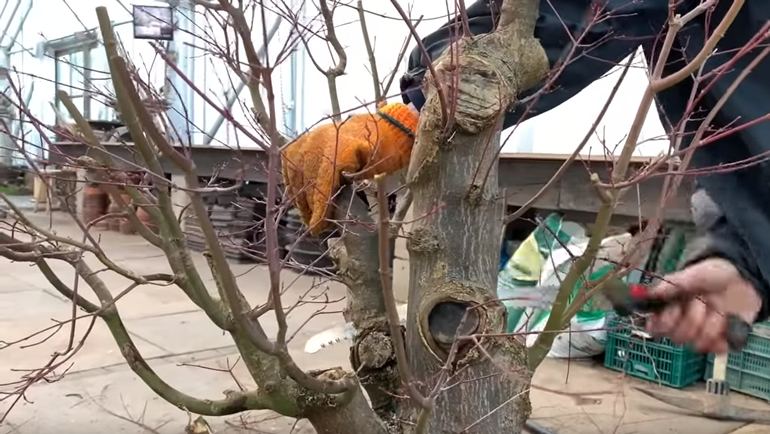
My preferred side, however, is this next one. Although there are a couple of cuts on this side, they will heal over nicely. I could also carve this side and make it a hollow trunk tree. As you can see there is already a nice taper forming also.
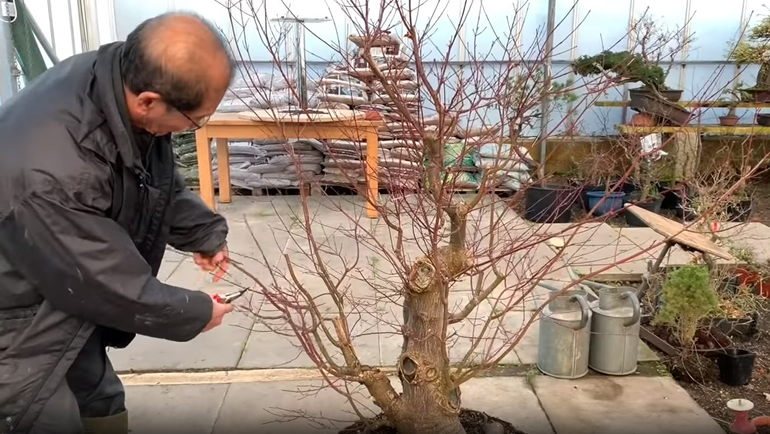
I will begin shaping the tree by getting rid of some of the longer branches. These long branches are a perfect example of how vigorous these trees are, having only grown in the last two years.
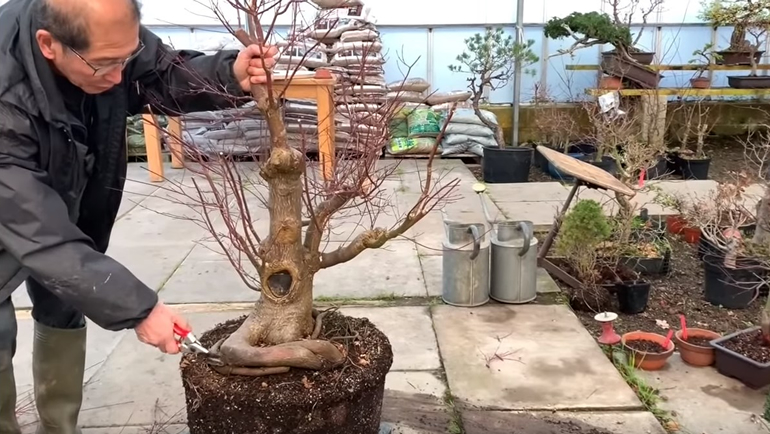
Now that I have trimmed the branches, the next thing I will do is try and get some of these ugly roots out.
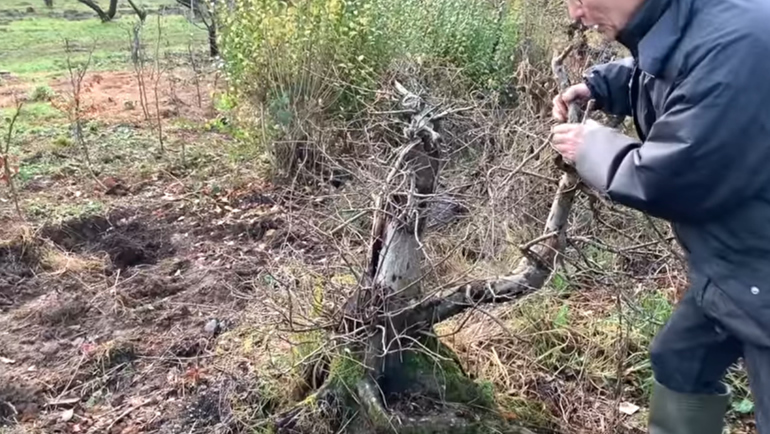
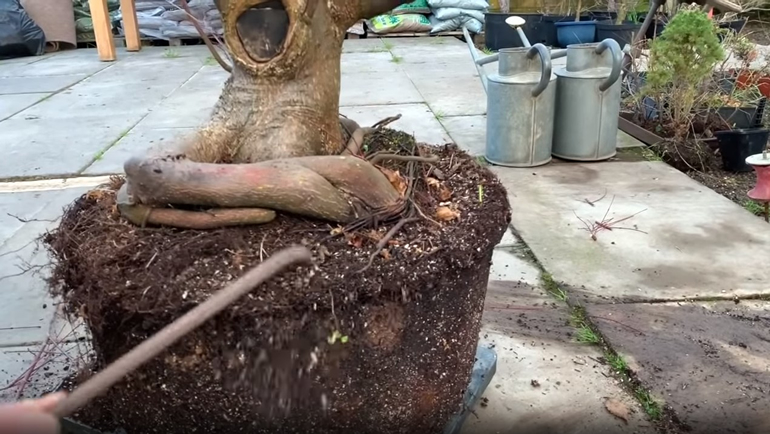
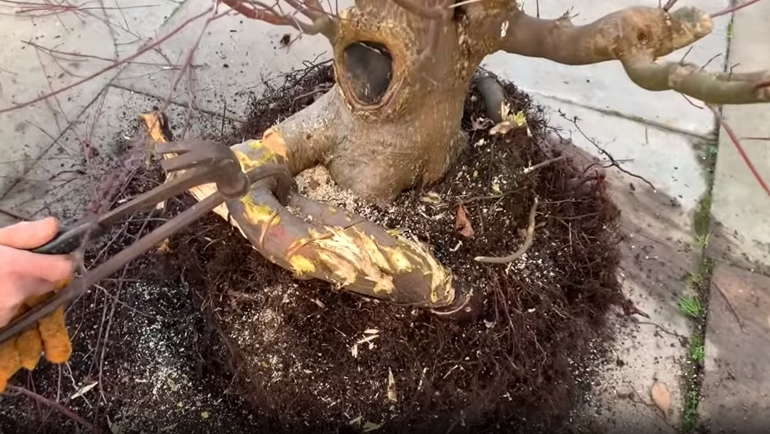
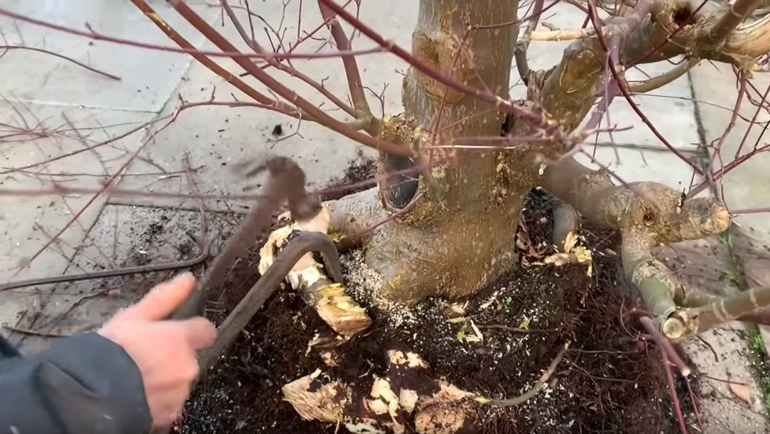
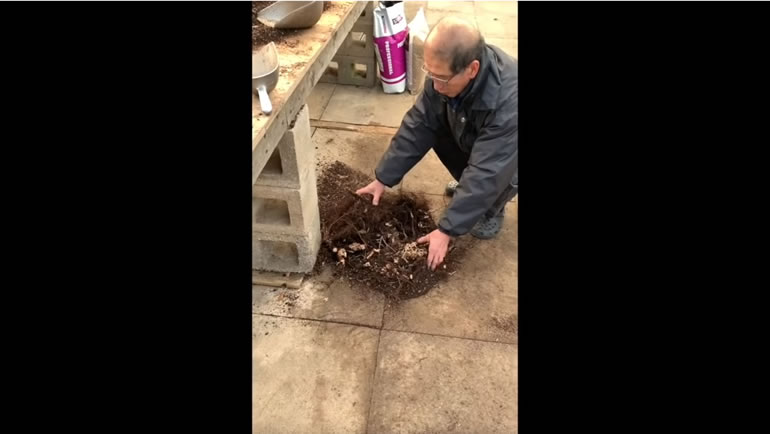
I’m going to start by working some of the soil to investigate how the roots are buried. I’m using a crow bar to do this.
I cut some of the smaller roots away using shears and then use a pickaxe to tear some of the tougher roots away.
To take away the largest root, I will need to use a combination of tools.
I start by sawing the root, then working it with the pickaxe. Finally I use a crow bar and hammer to continue chiselling the root away.
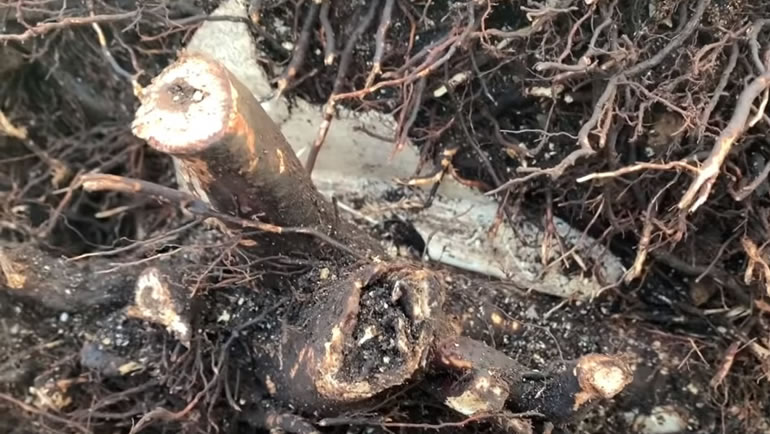
I have not caused any harm to the tree by cutting this large root. These thick roots are not feeder roots so by cutting them I am not damaging the tree at all. It is the finer roots underneath that are important to keep. I continue to work the root using a strong hammer.
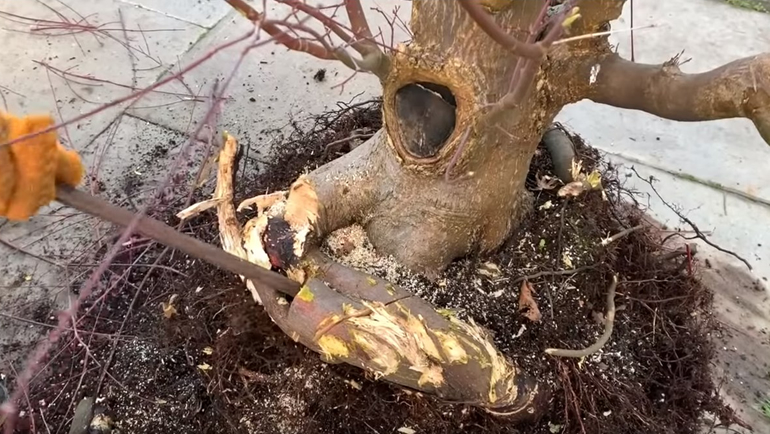
Now that the largest portion of root is removed, I continue to work what is left with the crowbar and hammer once again.
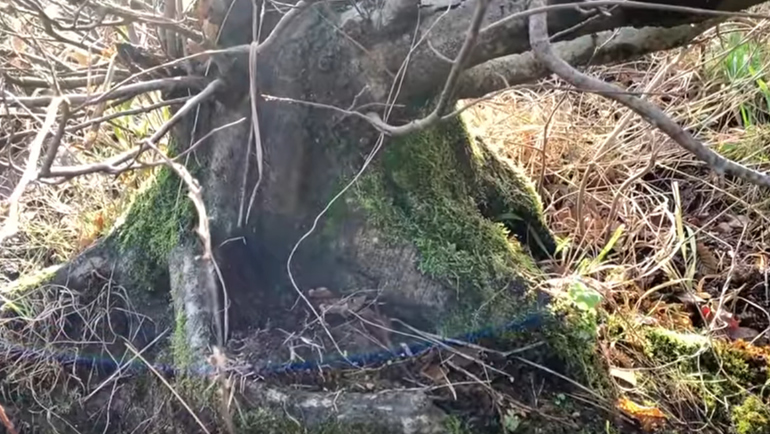
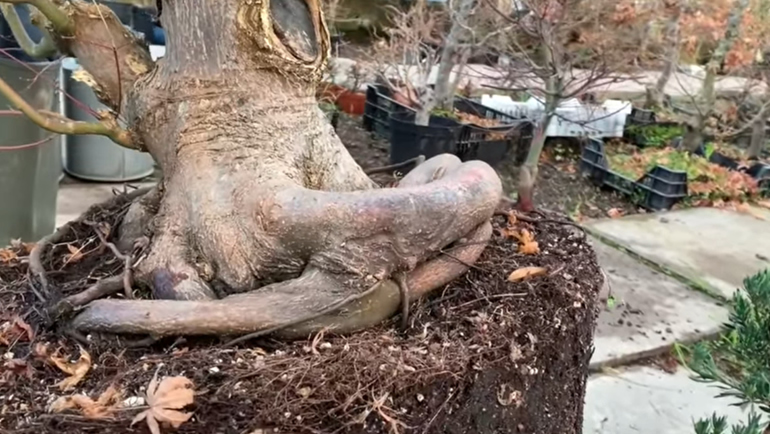
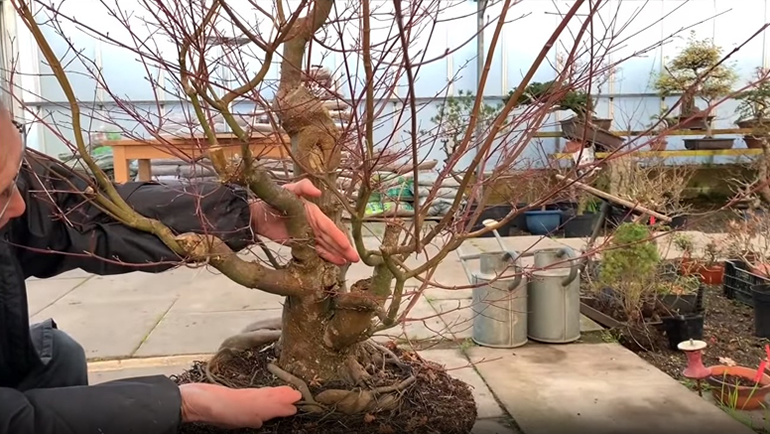
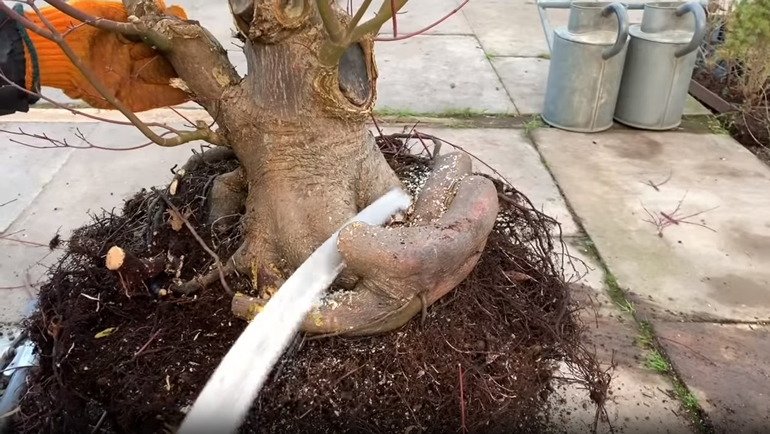
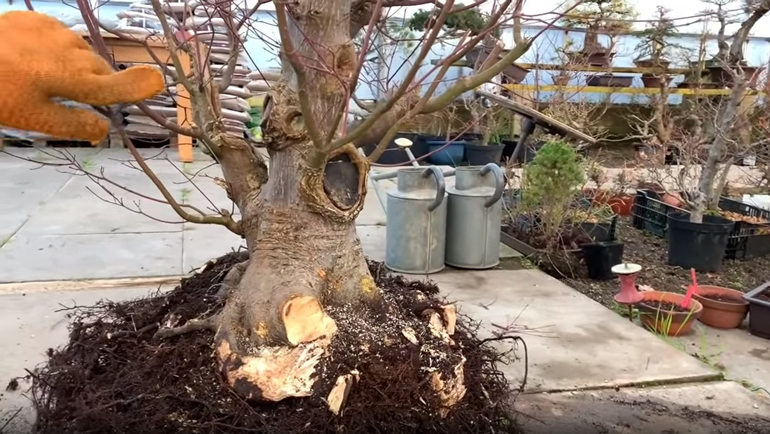
Finally the root is removed and we have the start of a good nebari.
This remaining thick root can be carved with a router. I have shown one of my books how to create two fine roots from a root such as this.
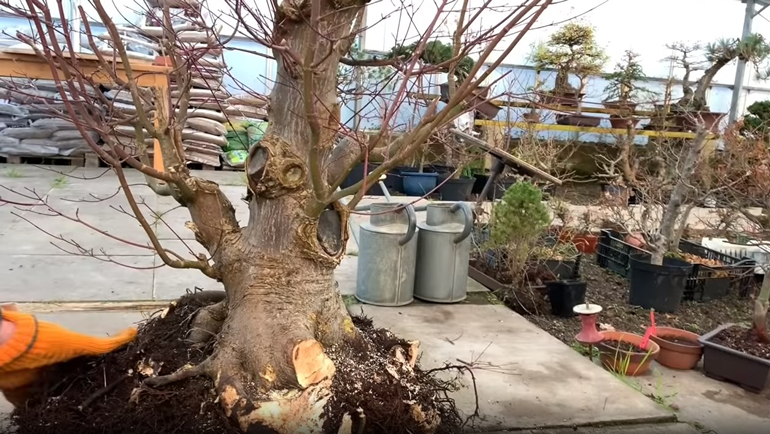
After removing the roots, I have noticed another side of the tree which may make a very interesting front. This is often the case when working on bonsai: as we work on the tree we discover more interesting options. I think the root spread is very interesting on this side.
Now that I have removed the roots, I continue to turn the tree and look at the potential fronts. As I have mentioned, the front you originally decide on may no longer be the best option once you begin working on the tree. It’s important to take a step back and consider all options before you make an irrevocable decision.
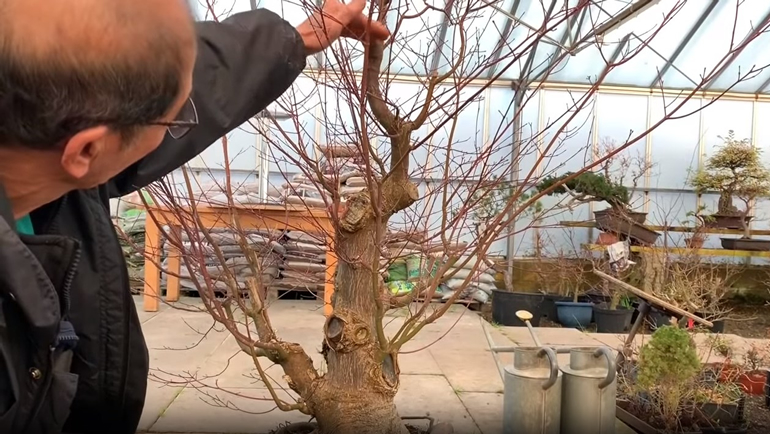
After some careful thought, I decide I’m going to remove this branch. I don’t think by removing it I will jeopardise any of the potential fronts. I begin cutting it with the saw and eventually use the hammer to break it away.
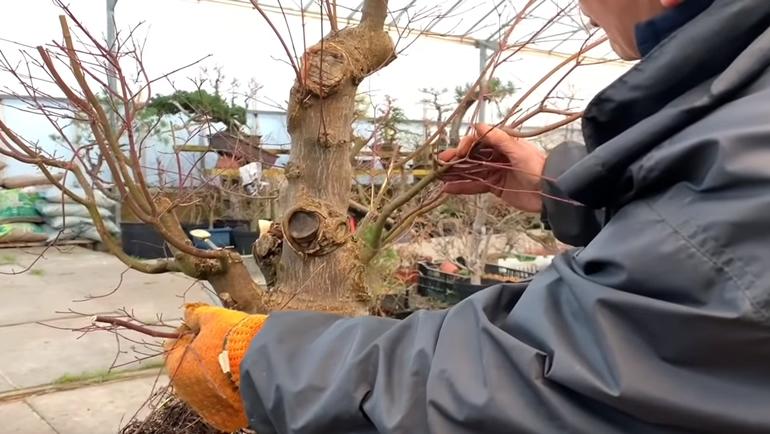
After removing some more branches I’m still undecided on which side I would like to use as the front. I can see this would make an interesting front, I would do a bit of carving on the trunk and wire these side branches outwards. After turning the tree again to look at the other potential fronts, I am still most drawn to this side.
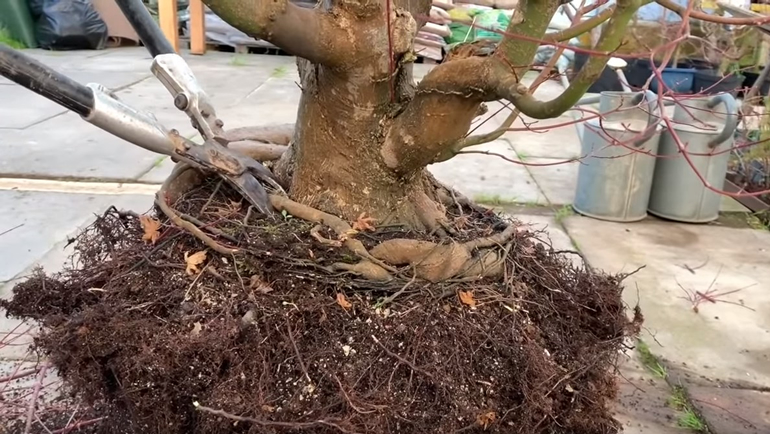
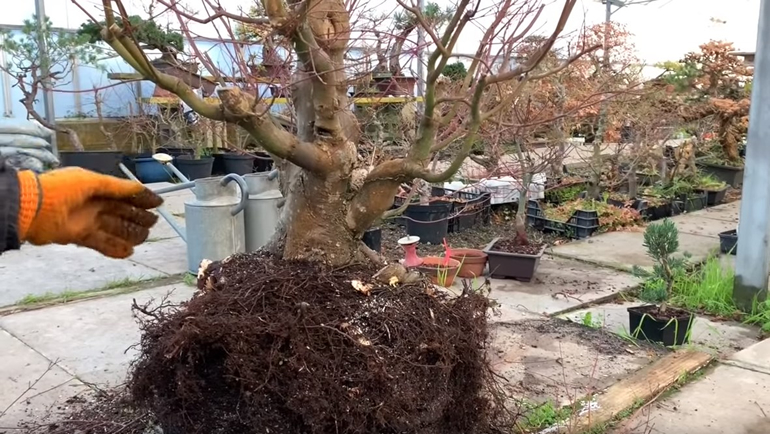
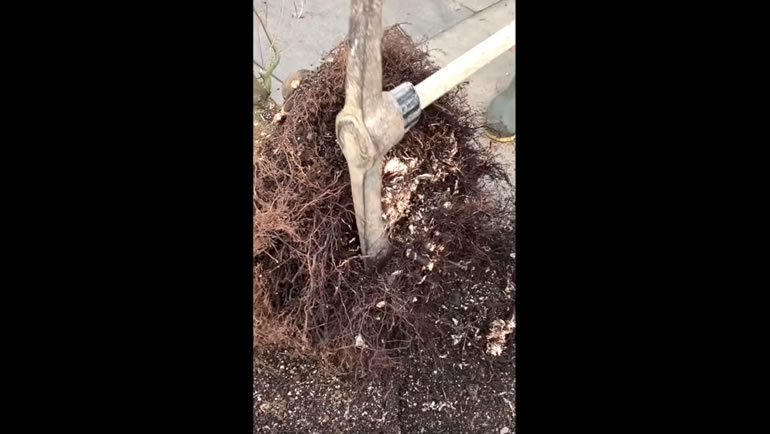
I will now tease the tree’s root ball. As you can see although I have removed a lot of the thick heavy roots, there are still many very fine roots left. These fine roots are the feeder roots which will sustain the tree. I will continue to remove lots of soil so I can fit the tree in a training pot.
During this process I came across a few thick roots which I cut using a pair of sharp shears.
Here, nestled within the roots is a piece of the original plastic pot that the tree was first planted in around 30 years ago.
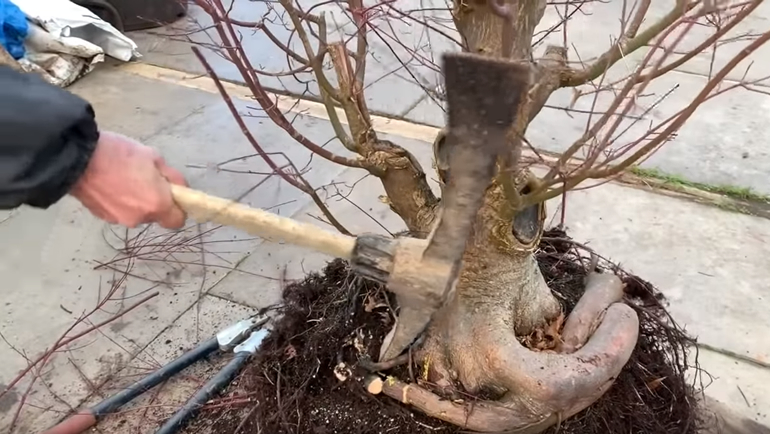
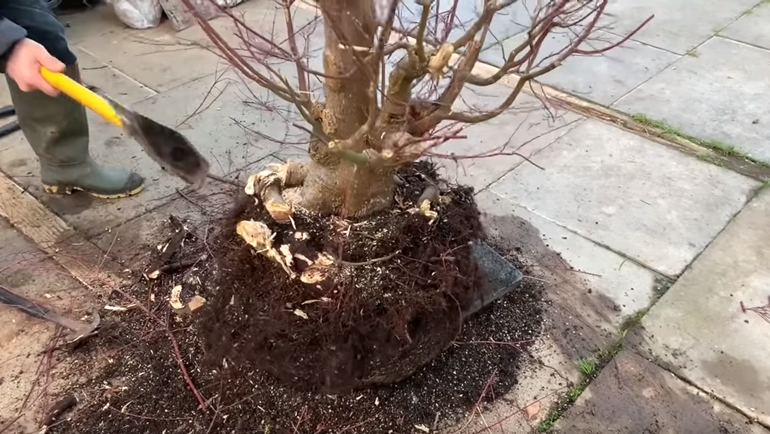
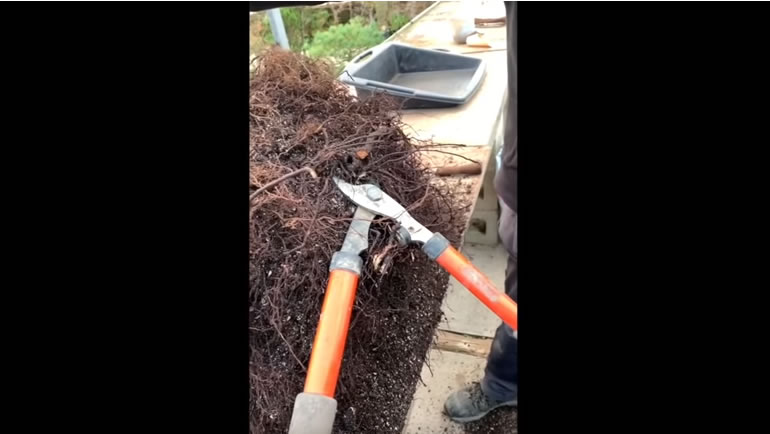
We still need to remove the thick roots so we can get the tree into a bonsai pot. We will use an axe to do this rather than a saw as the roots could blunt the saw. It’s not often that I need to resort to these means, but sometimes it is the only way you can get rid of thick roots.
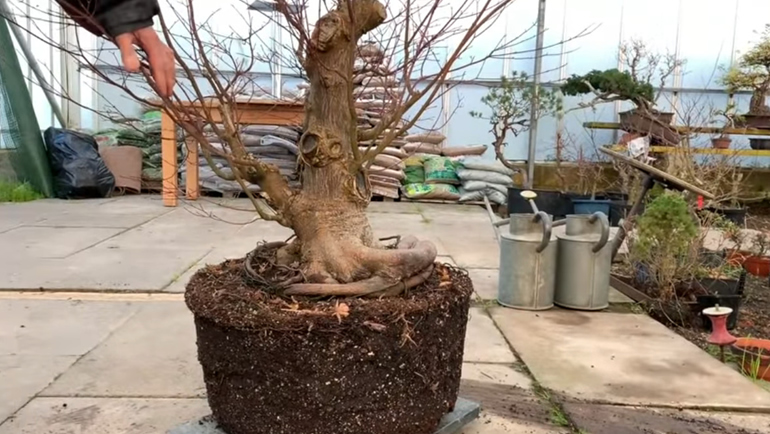
Finally enough of the root has been removed and we have put the large maple into a Japanese clay training pot. I’ve also done some basic wiring to splay the branches slightly. As you know when most trees are growing freely, then tend to grow upwards. The wiring will prevent the branches from growing too straight.
This branch will most likely be the leader. I’m going to grow it so that it will develop a better taper.
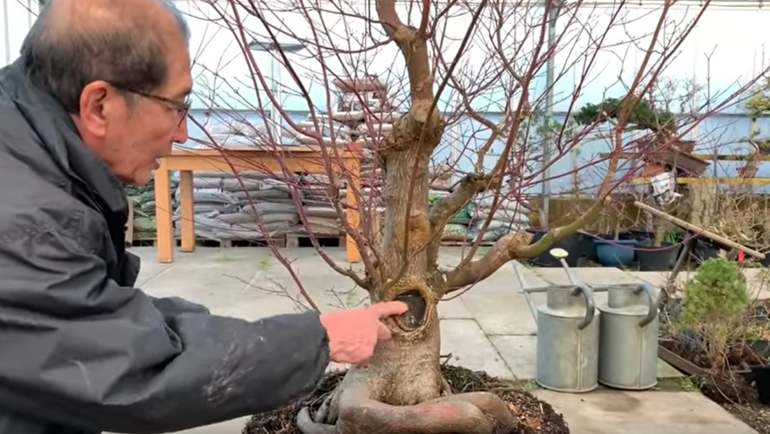
There are many possible fronts to this tree. Whoever chooses to purchase this tree will have the option to choose. For example, this would make a beautiful front. The tree could be cut down here and become a charming small bonsai.
I have always said, different people have different visions of what a bonsai should look like. No one person has the absolute say on what position or front is best for a bonsai. We are a commercial nursery and we grow our trees for other people to enjoy. I have done the basic work on this tree and it is now for the future owner to further develop this tree into something they love.
The roots we removed with a pickaxe!
Although I’ve shown you some fairly drastic work today, I can assure you this tree will not die. When creating interesting bonsai it’s important to be bold and imaginative in your work.


.png)


.jpg)


